Amazon Workspaces for End User Compute
Amazon Workspaces are a fully managed Vitrual Desktop Infrastructure (VDI) solution which provide an end user compute (EUC) function to allow users to connect to a managed desktop, and gain access to internal applications over the internet.
This is a great alternative to solutions such as VPN’s, and there are options to install a desktop Workspaces client (Android, iOS, Fire, Mac, PC, Chromebook, and Linux devices), or the web view mode to connect to a desktop using a web browser. This provides a flexible, resilient and scalable way to manage a fleet of managed desktops, and allocate them to end-users, including the option to provide persistent custom bundled images with all the software a user needs already provisioned and ready for use.
In this example, I’m going to show you a quick demonstration of creating a sample Amazon Workspace, assigning it to a user, installing the required software, and then creating a custom image for easy re-use.
Step 1 - Create the Workspace
For this, I’ll use the easy wizard to create a sample Workspace. It will also create the AWS Simple AD under the hood - which is required for user management and authentication/authorization. If you’ve got an existing directory - either an AWS Managed AD, or a simple AD you can use that as the existing directory and simply create a Workspace.
Search for Workspaces in the AWS management console, and click ‘Quick Setup’

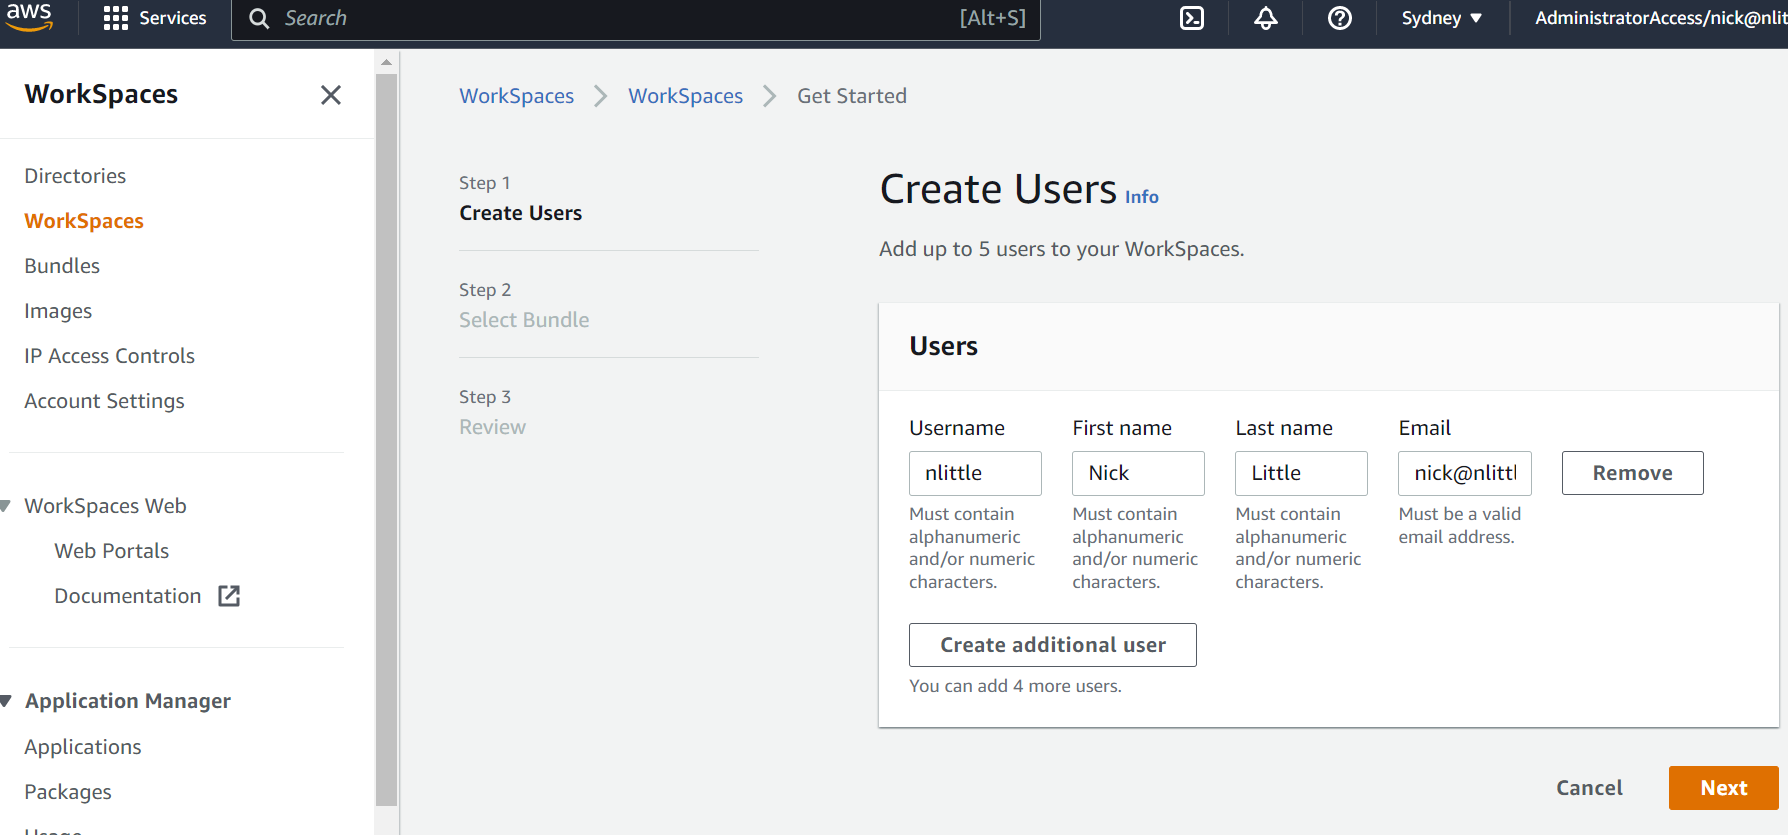
Next create the user(s) you’d like to add. Workspaces are individually assigned to a specific Workspace. So if you need to at a later date, you can easily assign multiple workspaces to certain users:
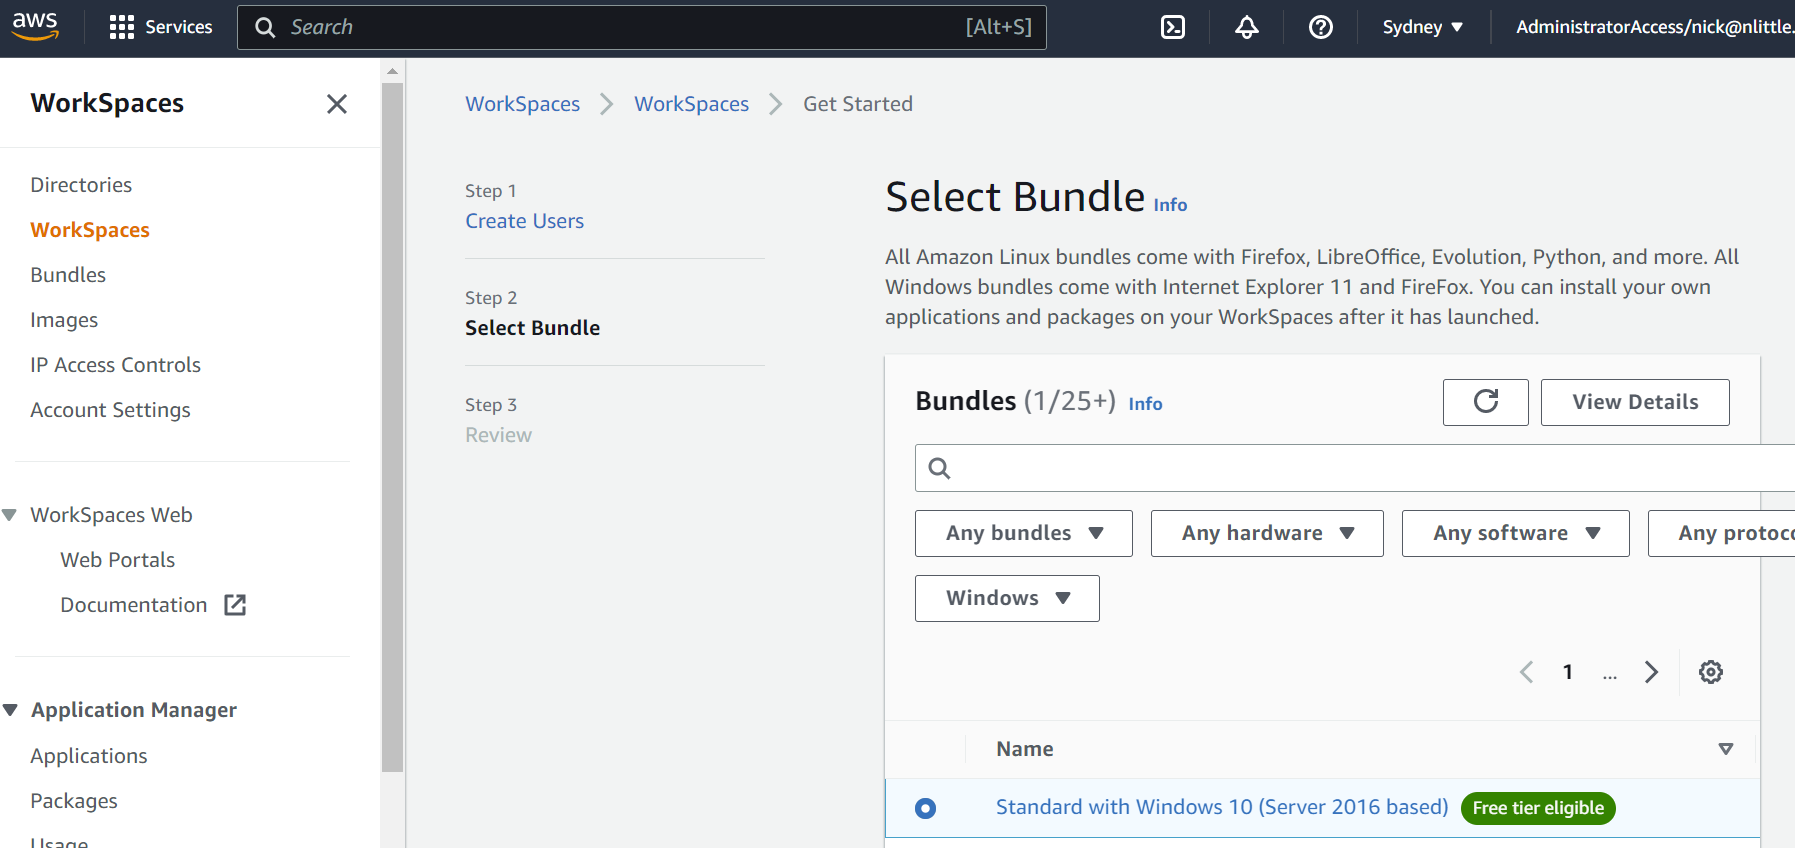
Pick your bundle. For this, we’ll select an AWS managed Workspaces bundle. Let’s make use of the AWS Free Tier (LINK ME) and pick a Windows 10 base bundle standard.
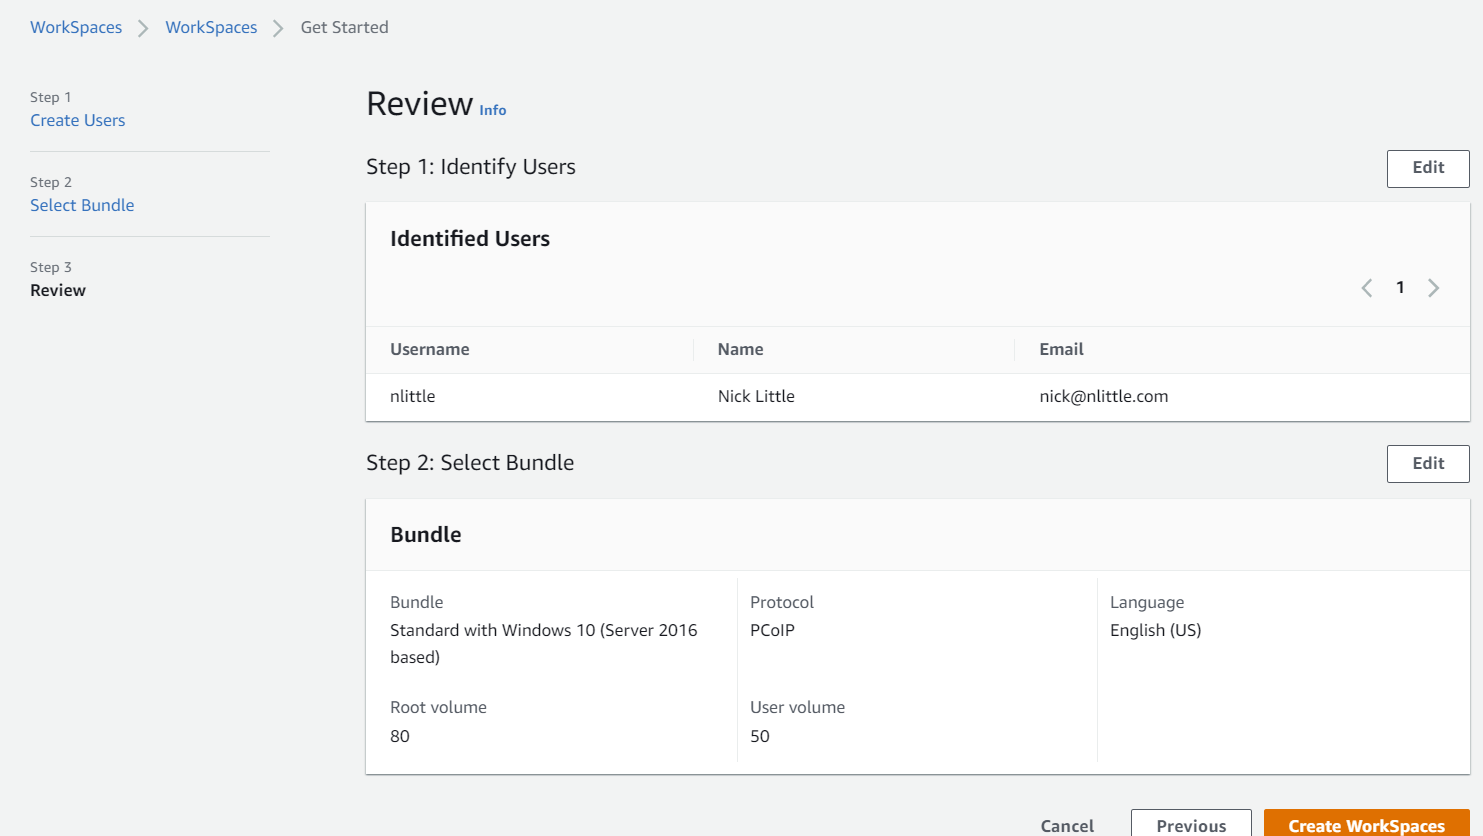
Review the user, and they’ll be assigned to the bundle as follows:
Then click ‘Next’ and you’ll see that AWS are provisioning your Workspace bundle, and AWS Simple AD in the background:
 Now is the time to go and get your beverage of choice, sit back and wait a while.
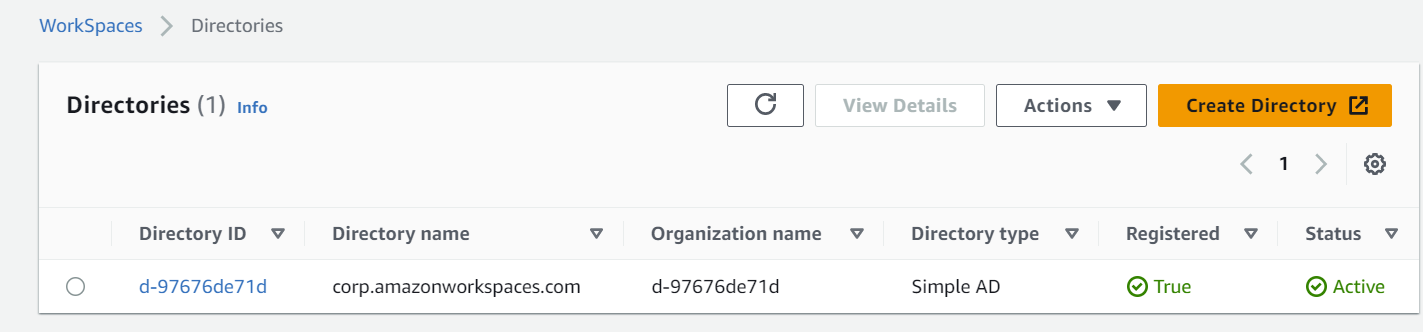
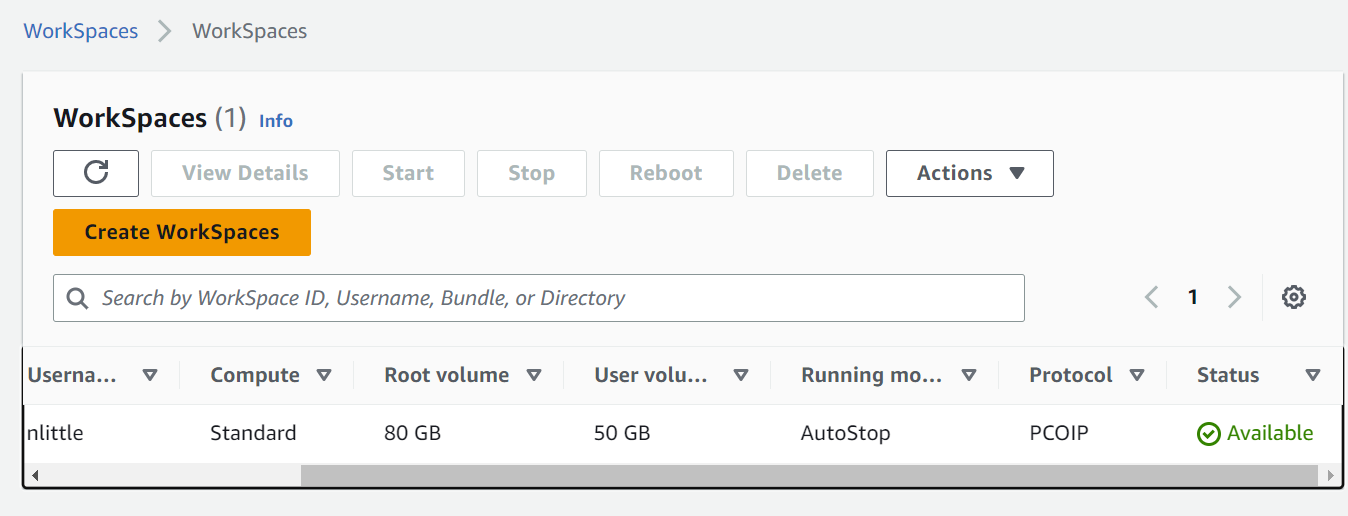
To confirm that the process is complete, check on your Workspace in the AWS Management Console, and the status should change to ‘Active’, and while you’re there, you can click on the Simple AD directory that was created and registered status will be ‘True’ and the status will also be ‘Active’.
Step 2 - Access the Workspace
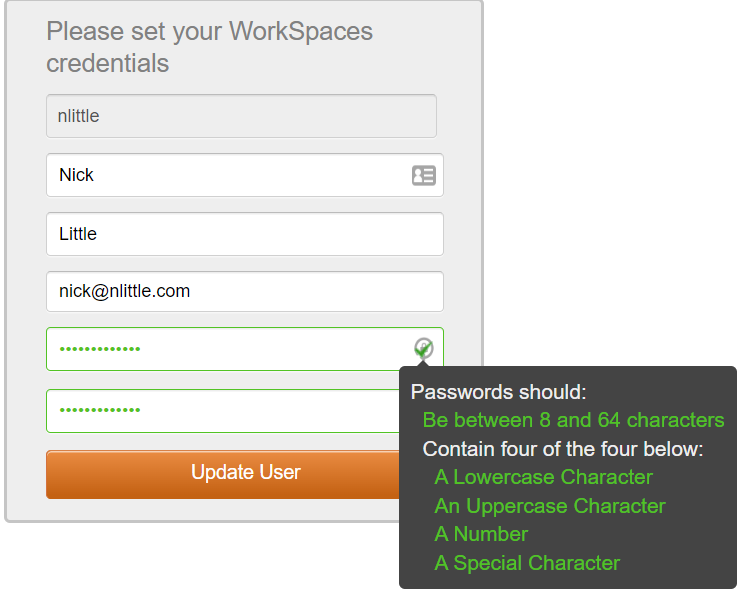
Now, head on over and check your email. You’ll see an email from AWS with instructions and links on how to download the Workspaces Desktop Client, and information to create your password and access your newly created Workspace
Workspaces clients are available from AWS for Android, iOS, Fire, Mac, PC, Chromebook, and Linux devices.

Set yourself a password, and click ‘Update User’
As I’m on Windows x64, I’ll download the Windows 64bit Desktop Client

Once the software is downloaded to your local machine, follow through the prompts to install it. The workspaces client can be easily deployed using msiexec as an unattended scripted install to be deployed across many machines at once if required.
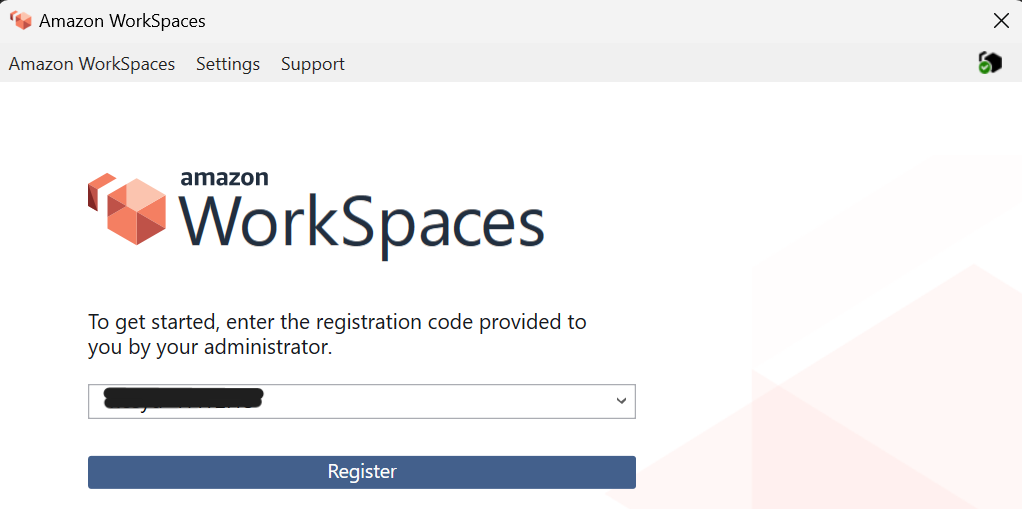
Open the Workspaces client and enter the “Registration Code” you got from the earlier email, and click ‘Register’
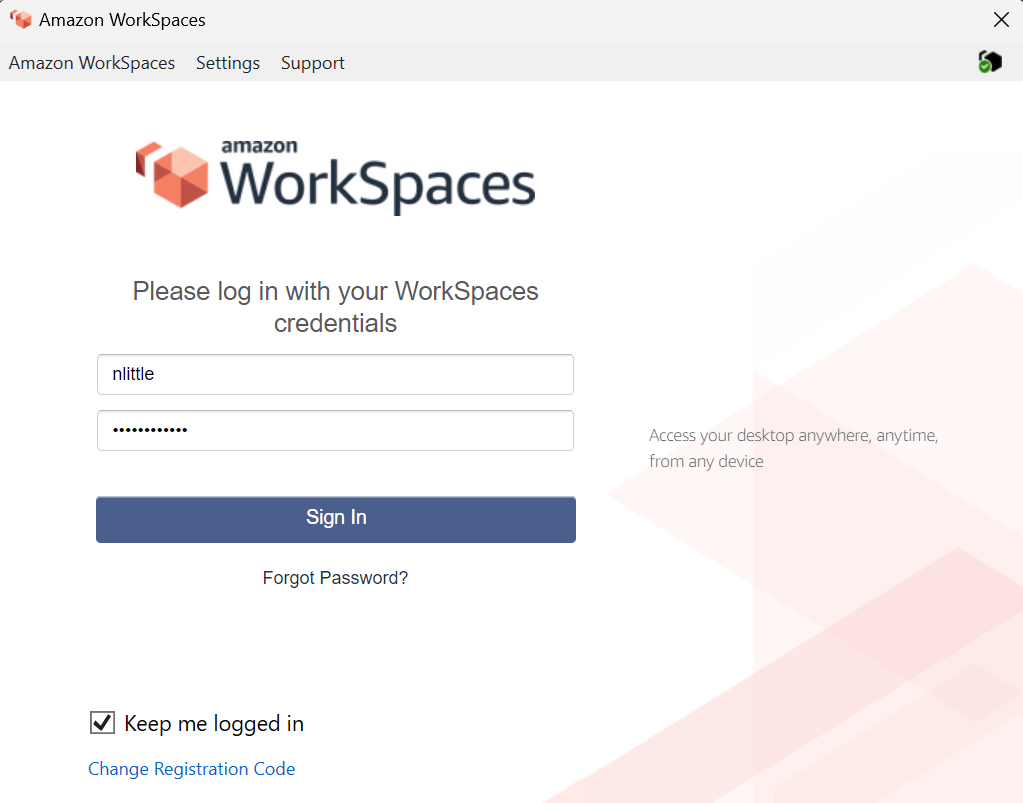
Now enter the username and password you set previously
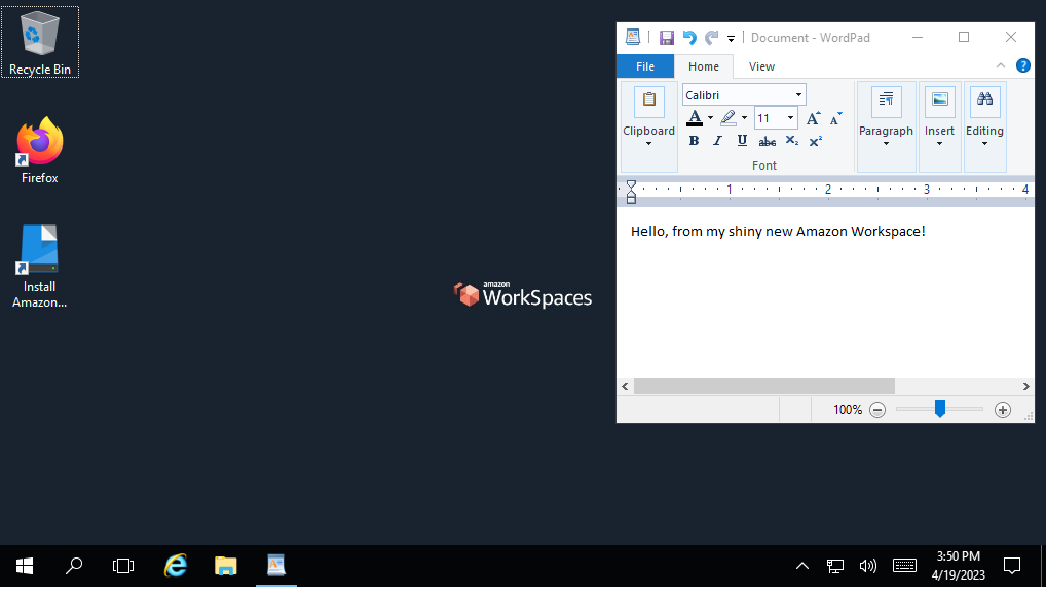
And now you’re in to your shiny new Amazon Workspace! Have a play around, and see how it goes. Note: we have nothing installed just yet, only what is provided by AWS for the base bundle
Step 3 - Customise the Workspace
Now you’re in the Workspace, install any software or configurations you want to include in the image to re-use.
You can also customise the Workspace branding, password reset, and help message text if you’d like - but that’s not in the scope of this blog.
Note that you cannot install Windows Subsystem for Linux on an Amazon Workspace because WSL2 invokes a virtual machine (Hyper-V) in order to perform its functions, and are instead managed by AWS hypervisors.
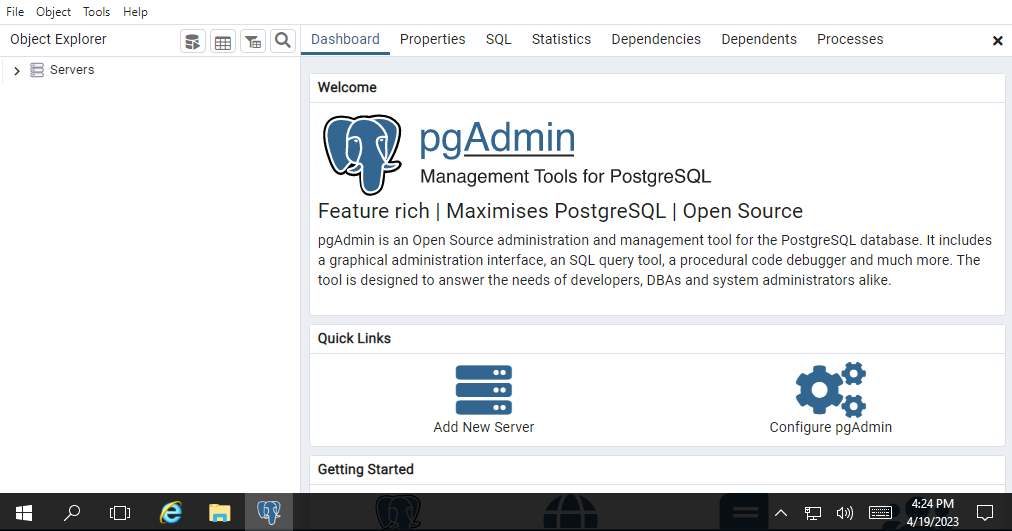
For this example I’ll just install PGAdmin a tool I use to administer PostgreSQL databases with. Download using the Firefox browser inside the Workspace, and install as required.
Here you can see my Workspace with PGAdmin installed
Step 4 - Create the Image
Now click ‘Amazon Workspaces’ > ‘Disconnect’ from your workspace and head back to the AWS Management Console, and we’ll begin the process to create a customised image of your Workspace that you can assign to other users. Make sure the status of your Workspace stays running before the next step. See the AWS guide for a full reference on image and bundle creation. (I’ve already followed the process in the guide to ensure my Workspace is suitable and passes the checks for the image to be succesfully taken.)
Click into the Workspace, and select ‘Create Image’

Enter the required details like name and description and click ‘Create Image’.

Note your workspace will be rebooted and unavailable during this time. You’ll see at status message of your Workspace, and can monitor it until it is complete.
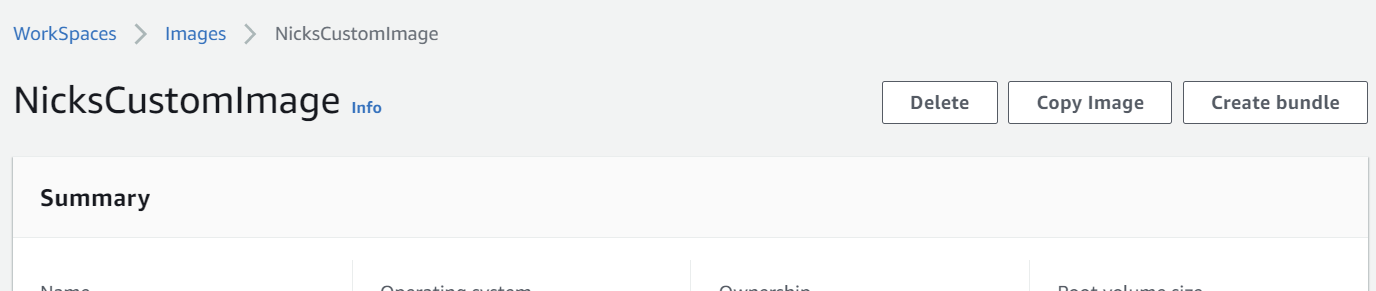
Once the image is completed and the ‘Status’ is ‘Available’, click on ‘Create Bundle’
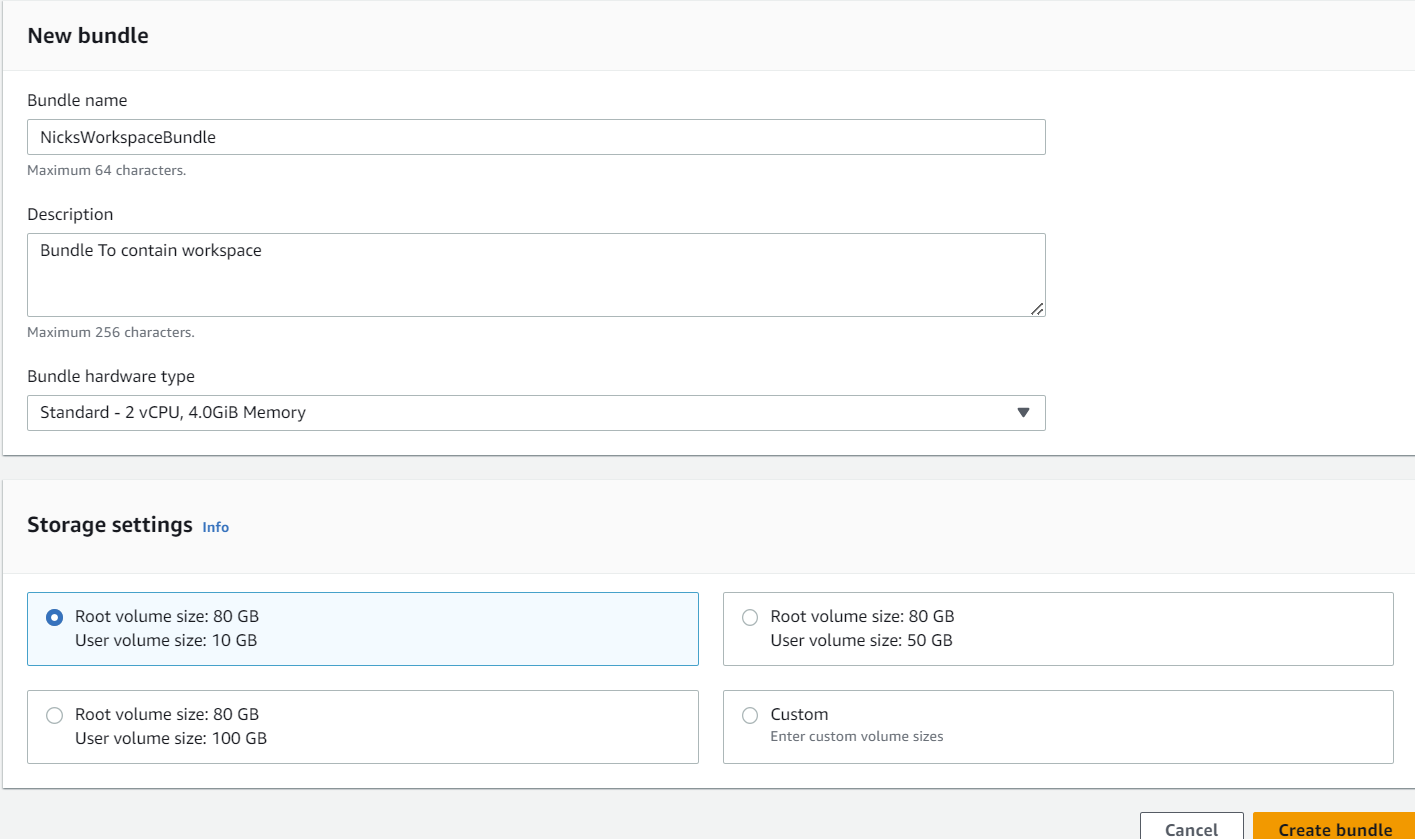
Enter the details you require, and then click ‘Create Bundle’
Now you’ll be able to go to ‘Bundle Details’ page, and can use your bundle to launch future Workspaces with it.
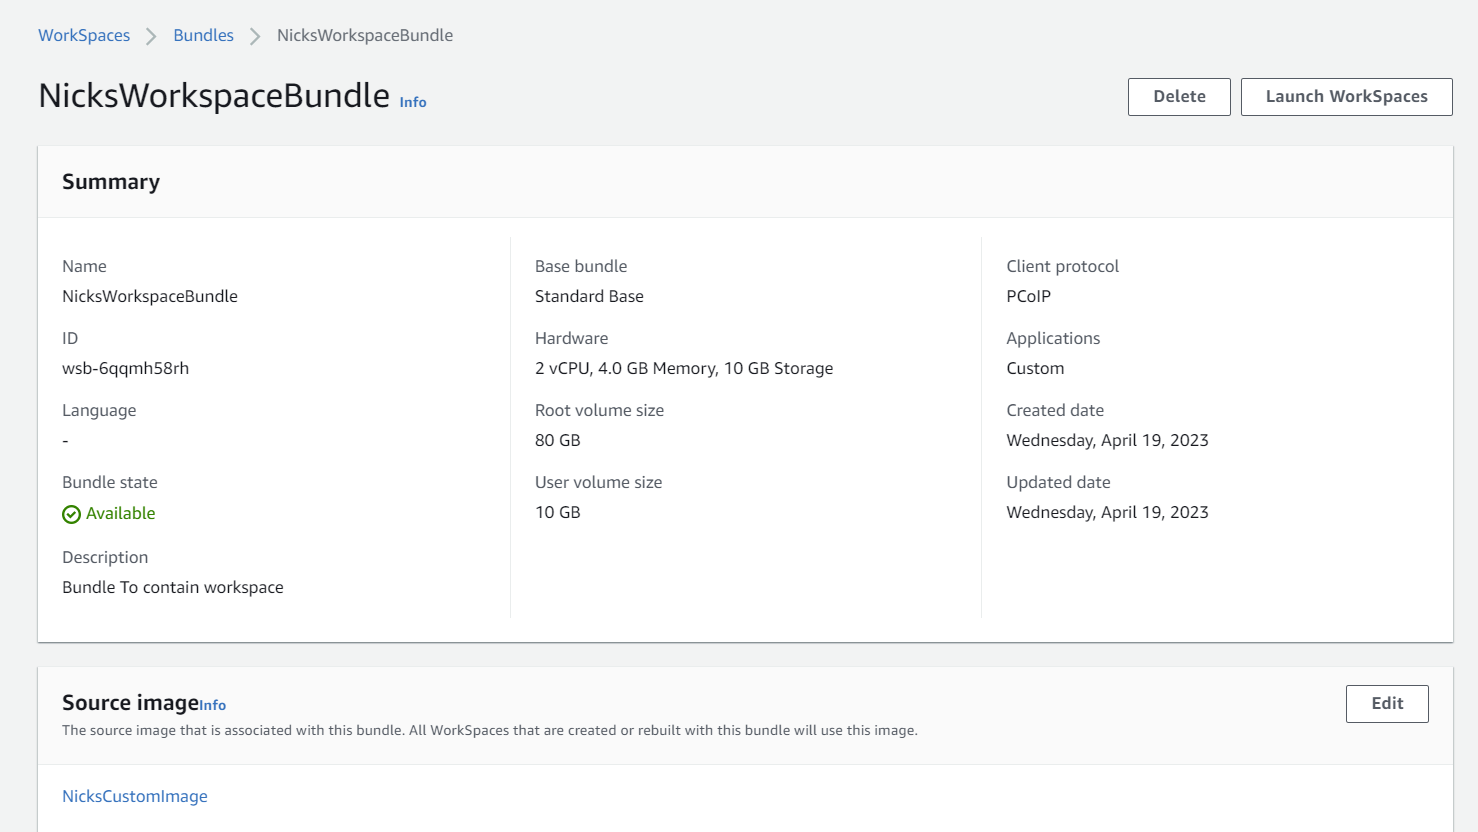
Then all you need to do is to click ‘Create Workspaces’ and then follow the prompts (as you did in Step 1 above) and assign this Workspace to an exisitng or new user.
Now when the user logs into this new Workspace, you’ll have the PGAdmin software already installed and ready to use.
This goes to show how easy it is to setup a Workspace, customise it, and turn it into a repeatable image.
Notes
-
There are different streaming protcols available to configure as an Amazon Workspace. The default is PCoIP, but there is a new Amazon protocol called WSP which works more efficiently with streaming inside of a Workspace (such as using Microsoft Teams).
-
You can print from a Workspace using local printer redirection (or using a cloud print service)
-
You can allow copy/paste using clipboard redirection to and from a Workspace to your local machine.
-
You can map USB devices (web cam, headphones) using USB redirection from your Workspace from your local machine.
There you have it. Amazon Workspaces are a great solution for a managed virtual desktop, which are scalable, resilient, and easy to manage for your end-users.