AWS Well Architected
In this blog, I’ll be talking about the AWS Well Architected framework, and how we can use the AWS Well-Architected tool to perform a Well-Archicted Framework Review.
Overview
The AWS Well-Architected Framework is a set of best practices and guidelines provided by Amazon Web Services (AWS). It serves to assist customers to design, build, and optimize their applications, and workloads on AWS.
The six pillars are outlined below:
1. Operational Excellence
This pillar focuses on automating and streamlining operational tasks to achieve better business outcomes. It emphasizes the need for continuous improvement and the ability to make informed decisions quickly.
- Define processes for managing changes, responding to incidents, and maintaining infrastructure.
- Leverage automation to eliminate manual interventions and reduce human errors.
- Collect and analyzing data to gain insights into system performance and user behaviour.
- Document procedures and share knowledge to foster team collaboration.
2. Security
This pillar provides a focus on implementing strong identity and access management controls to ensure the right people have the right level of access.
- Employing encryption mechanisms to secure data both in transit and at rest.
- Designing systems with a “defense-in-depth” approach, using multiple layers of security controls.
- Regularly auditing and monitoring systems for security vulnerabilities and compliance.
3. Reliability
Modern applications are expected to be highly available and reliable. The Reliability pillar addresses this by ensuring that you architect systems to recover gracefully from failures and dynamically adapt to varying workloads.
- Designing for fault tolerance, meaning that the system continues to operate even when components fail.
- Implementing automated scaling to handle changes in demand without manual intervention.
- Monitoring and measuring system health and performance to proactively identify and address issues.
- Regularly testing recovery procedures through simulations to ensure readiness for real-world failures.
4. Performance Efficiency
The Performance Efficiency pillar focuses on using resources in order to meet your performance requirements, whilst still ensuring costs are optimized. This includes selecting the appropriate EC2 instance types, database sizes, and storage to meet your application needs.
- Implement auto-scaling to adjust resources dynamically based on demand.
- Utilize content delivery networks (CDNs) like Amazon CloudFront to improve content delivery speed.
- Regularly monitor application performance and optimize where necessary.
- Leverage AWS services like AWS Elastic Beanstalk and AWS Lambda to scale applications automatically.
5. Cost Optimization
Cost optimization provides a focus on ensuring that you use resources efficiently to achieve maximum value for your cloud spend. Tips to help align to the Cost Optimization pillar include:
- Monitor analyze cost and usage data using AWS Cost Explorer and AWS Budgets.
- Use reserved/spot instances, and savings plans to lower compute costs.
- Right-size resources to meet workload requirements.
- Delete unused resources and implementing a well defined resource tagging schema to assist with this.
- Use AWS Trusted Advisor to get recommendations for cost-saving opportunities.
6. Sustainability
A recent addition in 2023 is the new Sustainability pillar. This pillar provides a focus on environmental impacts such as energy consumption and efficiency. In a nutshell, architect solutions so that they only consume the resources they need and no more. Some examples to apply are:
- Use AWS managed services where possible to avoid over-provisioning resources unecessarily
- Right-size workloads
- Reduce the amount of resources required to consume your solution
- Adopt new services when they become available
Using the AWS Well-Architected Tool
The Well-Architected tool is a little known free to use service in the comprehensive suite of AWS services available. You can use this to run an assesment over your AWS workloads to ensure adherance to the AWS Well-Architected Pillars, or you can engage an AWS Partner to conduct a Well-Architected Review on behalf of your organization.
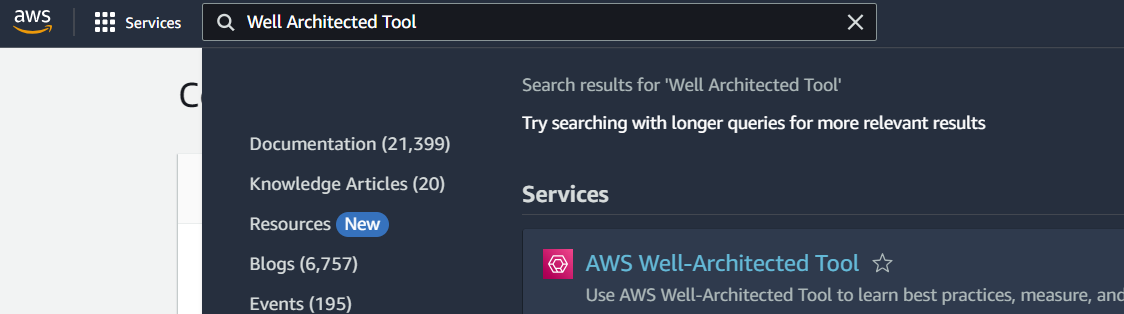
The tool can be found by searching for “Well-Architected” in the AWS Console:
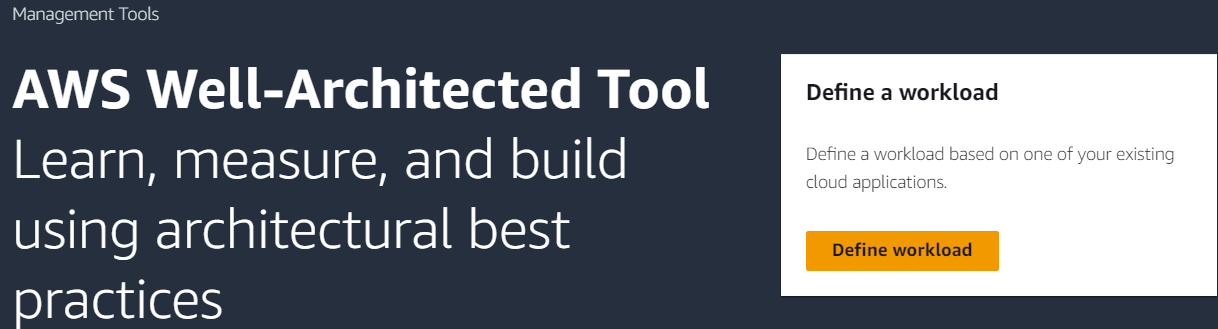
Click on ‘Define a Workload’ to begin:
Fill out your application, account and any other relevant details on the form:

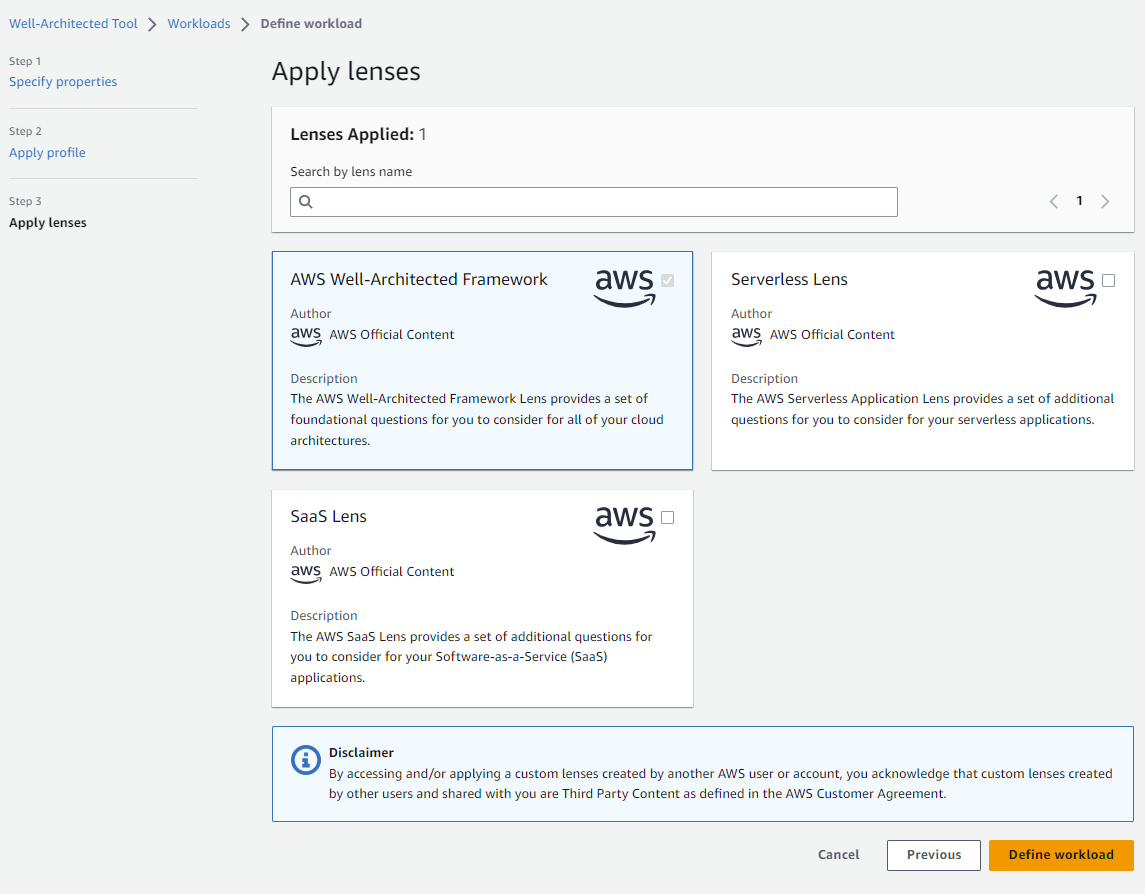
Skip through the profiles (unless you’d like to complete it) and click to apply the ‘AWS Well-Architected Framework Lens’ > ‘Define Workload’. (Note you can create custom lenses to better suit your workloads, but in this example I’ll stick to using the default lens):
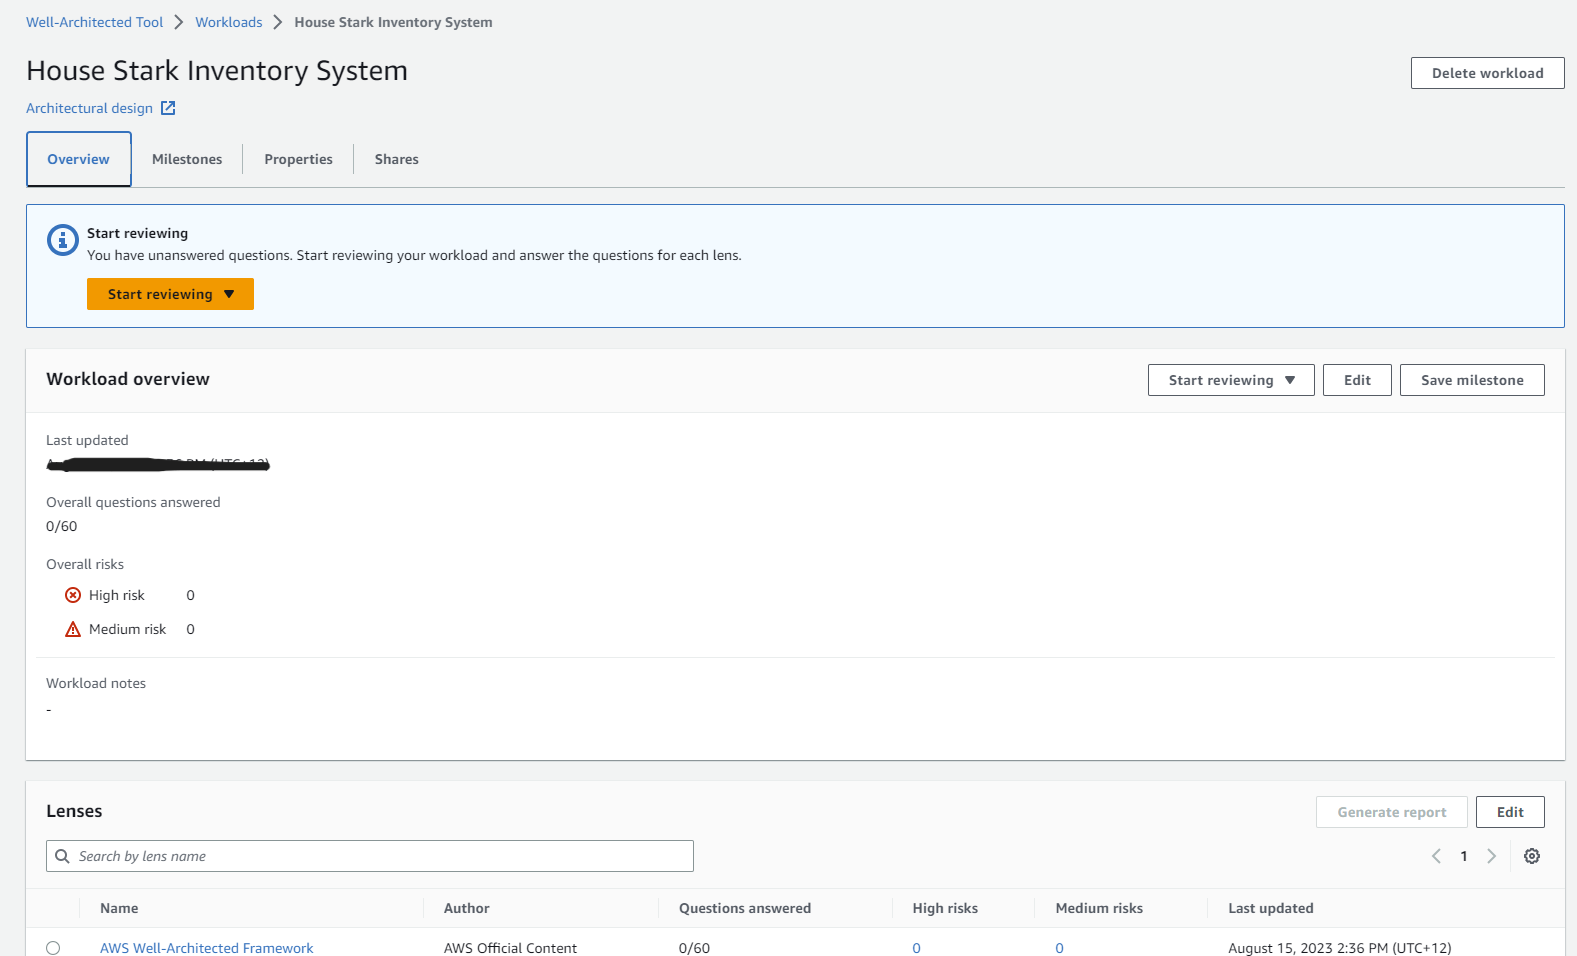
Now you’ll see the Overview of your Well-Architected Review. Take note of the tabs across the top: ‘Overview’, ‘Milestones’, ‘Properties’, and ‘Shares’. Down the bottom you can see the lens we discussed earlier is applied:
Pre-Remediation Milestone
Before I go too much further, I’ll give a bit of an outline of the next process. The core components of a review are the ‘Milestones’. When I’m completing a review for a customer I typically end up with two milestones created at the end of a review: ‘Pre-Remediation’, and ‘Post-Remediation’ (with exported reports as outputs) respectively.
At a high level, you will go through and answer a total of sixty (60) questions which are spread out across the six(6) Well-Architected pillars. To do this you want to ideally have an in-person workshop with the right stakeholders in the room. The topics are wide in scope, so stakeholders such as finance, IT operations, and strategy based staff are all important here.
When you’re ready to commence, hit the ‘Start reviewing’ button.
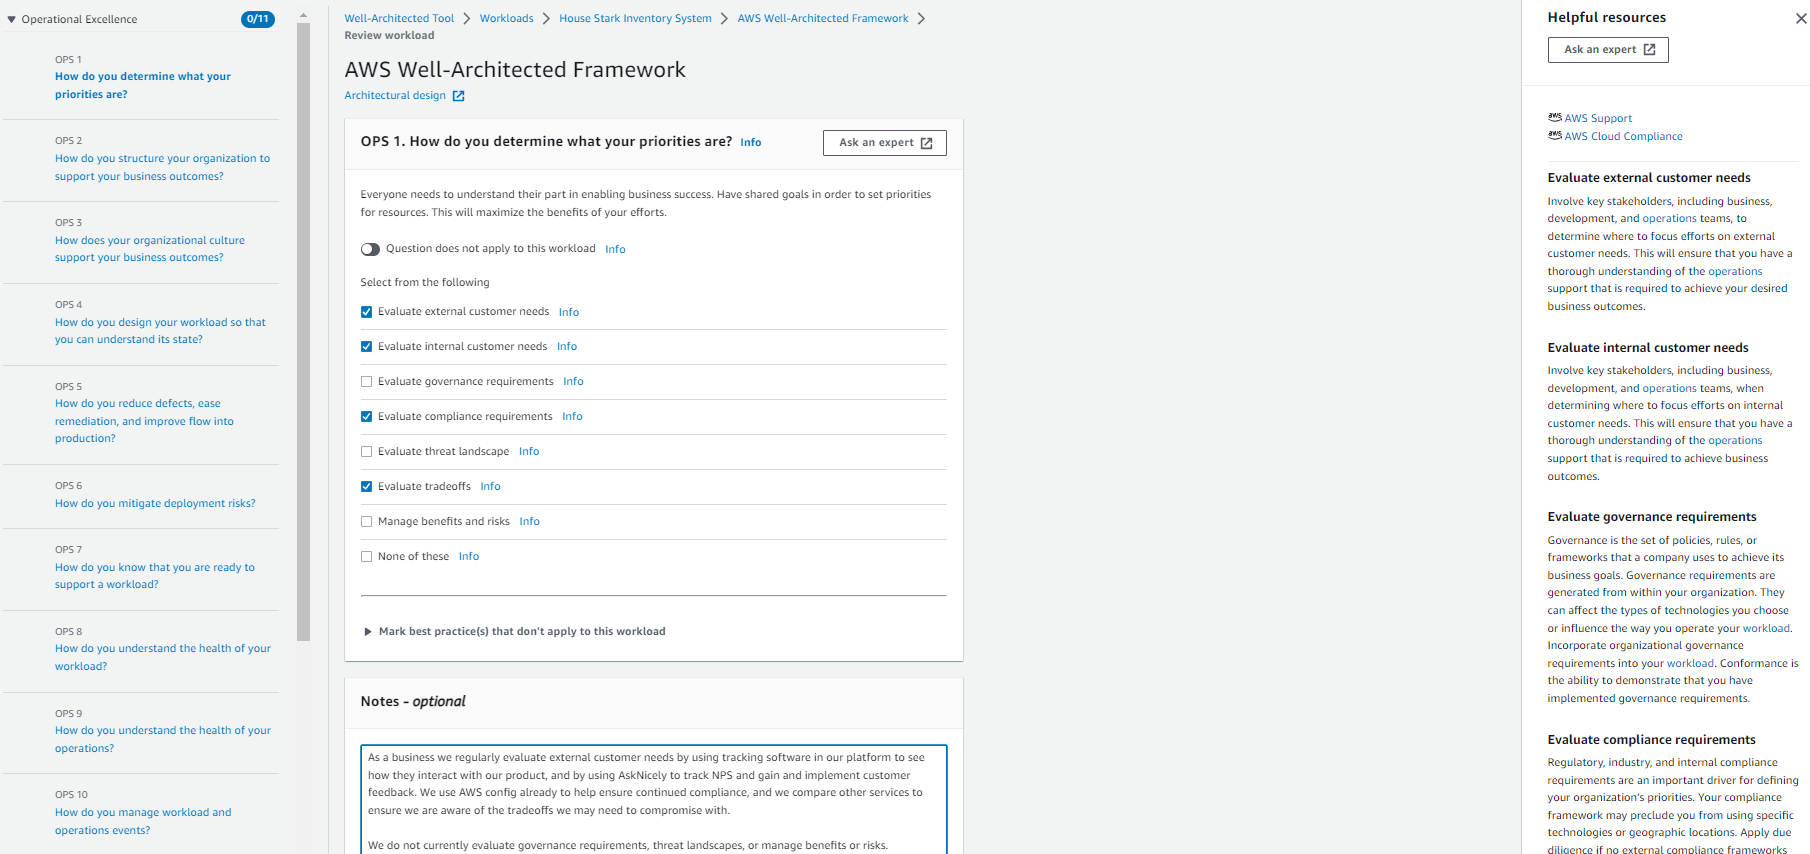
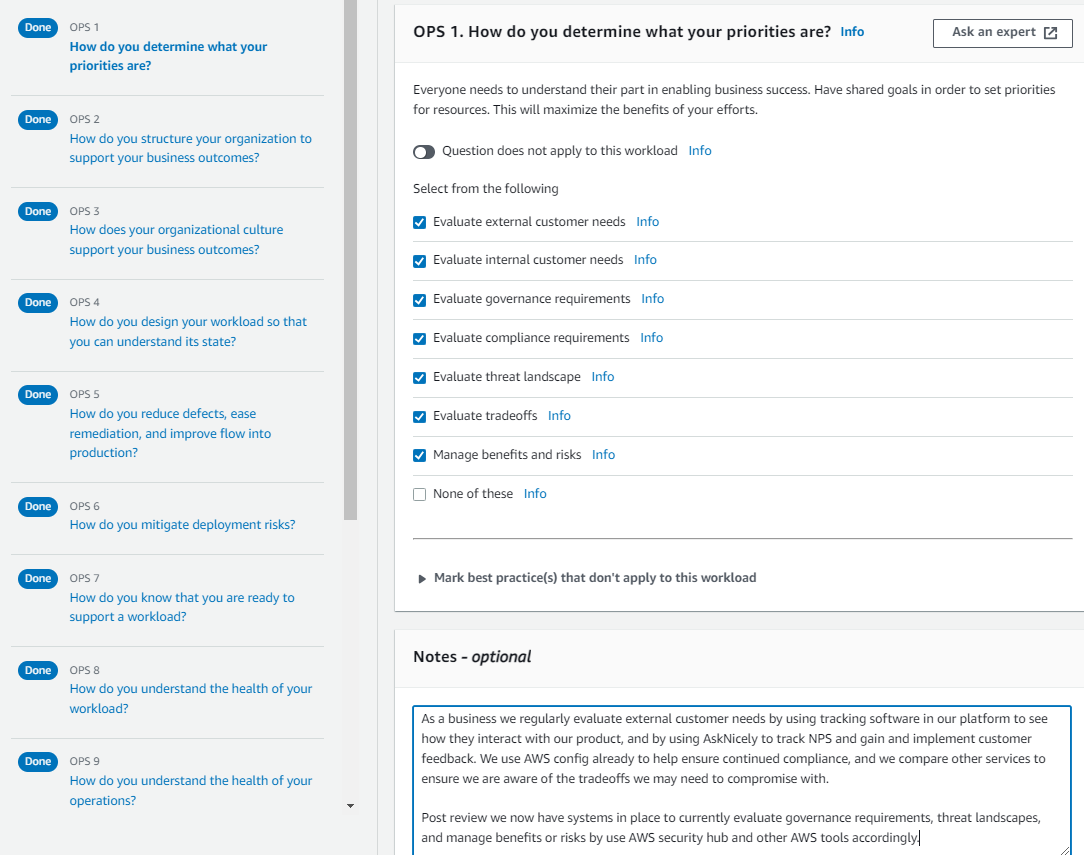
- Note: the six Well-Architected Pillars to the left that you can click on and answer each set of pillar questions
- On the right - use the verbiage available from the tool to get context on each question to understand what is being asked, and as an aid for answering the question
- Answer the questions across all six pillars to the best of your ability and mark any that are not applicable. Note: all questions must be answered (even if N/A)
- Use the notes section as a reference to track the discussion during the session.
Once you’ve run through all the questions, you can click ‘Save and Exit’, and you’ll see a screen similar to the following:
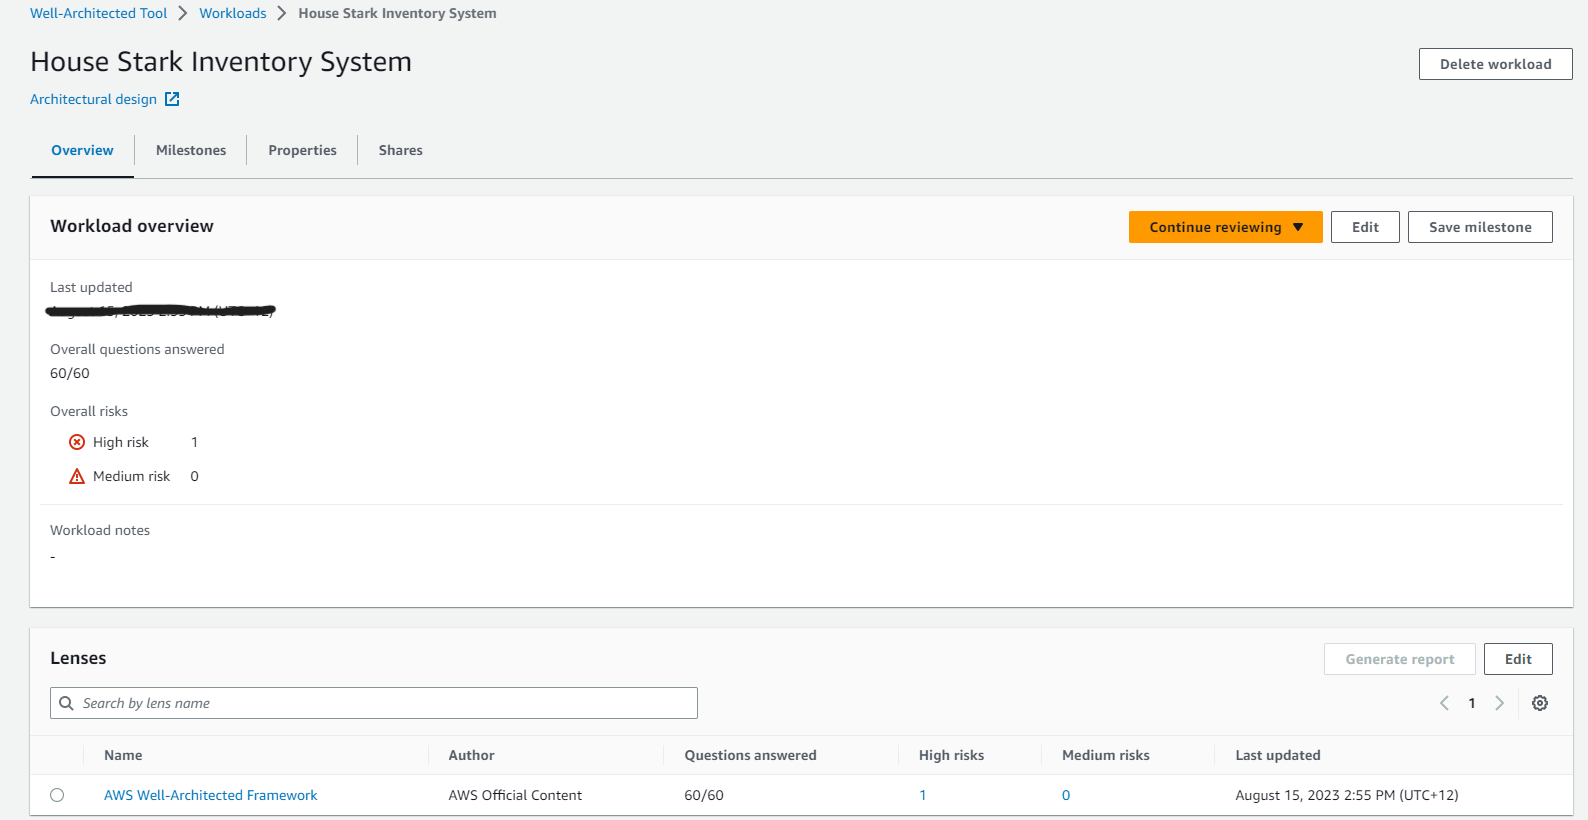
At this point, I’ll point out a couple more important notes:
- High Risk Items (HRI’s), or other risks
- This is the current state of your workload so it’s common to see risks, and the purpose of doing this review is to remediate those risks
- To be eligible for AWS funding via an approved AWS APN Partner, you’ll need to resolve 45% of the HRI’s identified between the pre and post remediation milestones
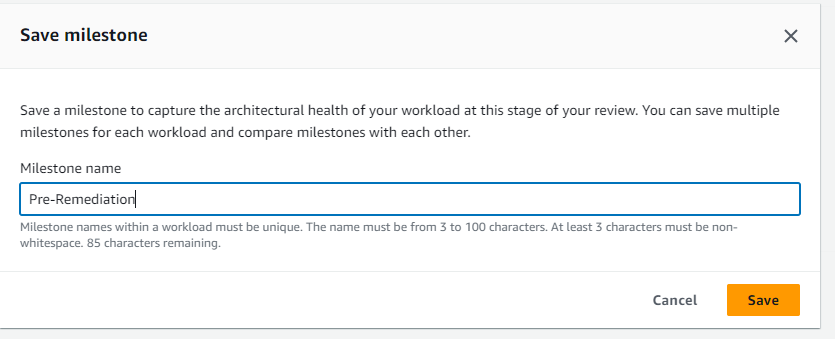
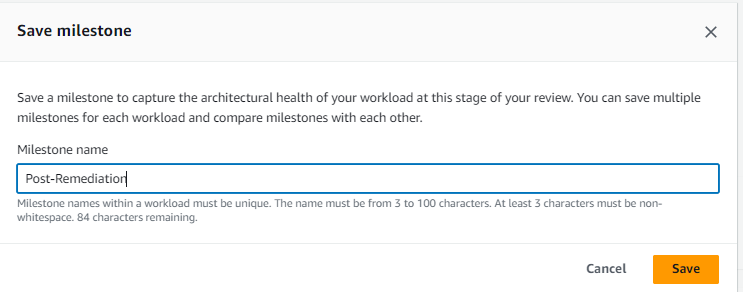
Click on ‘Save Milestone’, then give it a name such as ‘Pre-Remediation’:
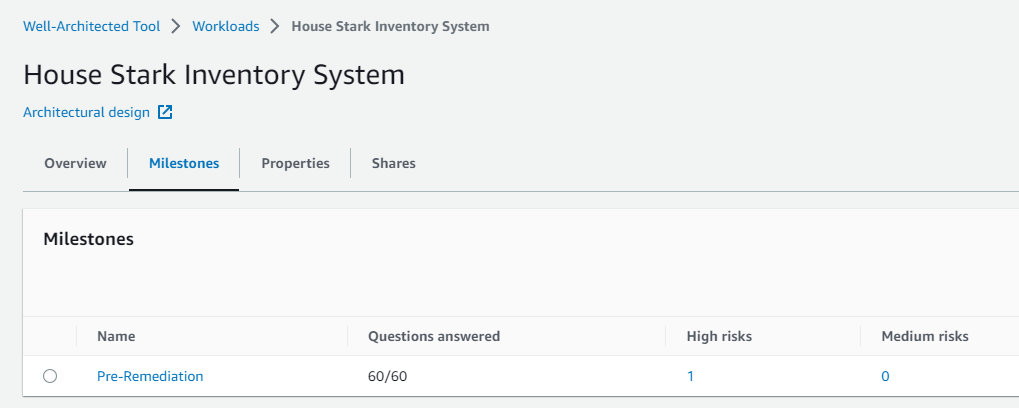
Then you can go back to the ‘Milestone’ tab to view your milestone:
Now you’ll need to click ‘Generate Report’ which will export a PDF report of your ‘Pre-Remediation’ milestone to your local disk:

Remediation
Now the hard part, which I won’t detail here as it’s out of scope - but the key thing is you actually have to go and remediate all of the high risk items, (Remember you’ll need to remidate 45% or more to be eligible). A great places to start here can be to engage an AWS APN Partnerto assist you, and you can look at picking off the low hanging fruit by enabling AWS services such as Security Hub and Guard Duty for example to lower the risk profile significantly.
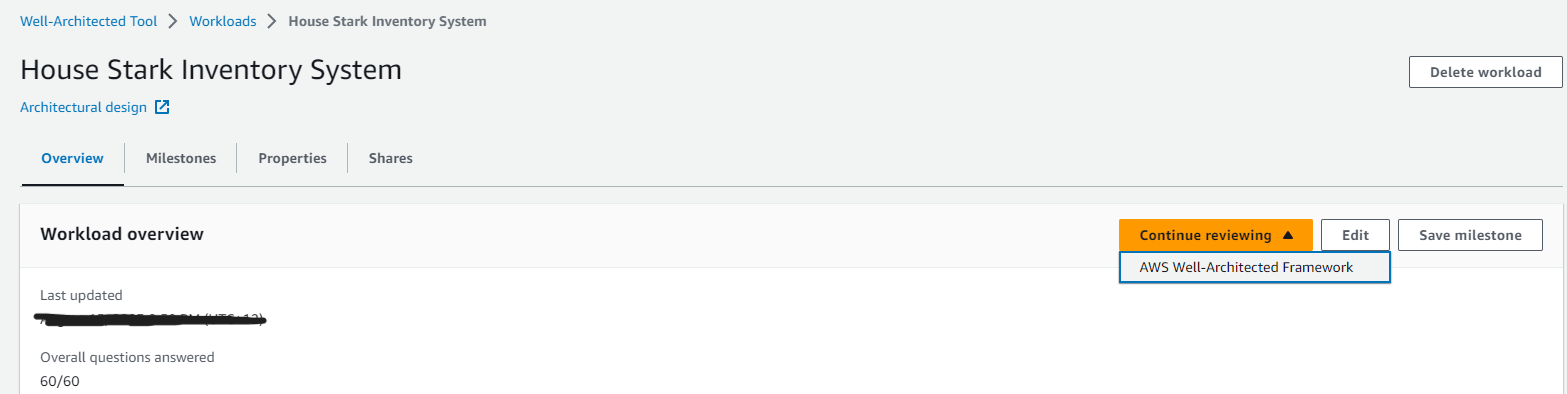
Post-Remediation Milestone
Go back to your worload in the tool, and click on ‘Continue Reviewing’:
Now the important part. Run through the tool again (across all pillar questions) as we did for the ‘Pre-Remediation’ milestone. Update and answer any questions that you can now answer having completed the
remediation activities, and updates the notes per question to talk about what you did to remediate the risks, and what AWS services you used in order to do so:
Once you’ve answered all questions again and updated them (don’t forget to click ‘Save and Exit first’!). Repeat the process to save another milestone, this time calling it ‘Post Remediation’:
And again, export the PDF report for your ‘Post Remediation’ milestone to your local disk:
Now, if you go back to the Well-Architected tool, and view your workload you’ll be able to head to the ‘Milestones’ tab and view the ‘Pre and Post Remediation’ milestones and go into them and view the answers to the questions.
You’ll also have a PDF copy of each of the milestone reports saved that you can use as a reference.
The key here again is to compare the milestones and ensure you’ve resolved more than 45% of any HRI’s during the process.
That’s it from me! I hope this helps you understand a bit more about the AWS Well-Architected pillars and how to conduct an AWS Well-Architected Review.