AWS Certificate Auto-Renewal Debugging
AWS Certificate Manager (ACM) is the best way to automate and add TLS to your websites and/or applications. It’s free to generate a certificate, and the easiest way to generate one is if your domain is registered as a public hosted zone (like my nlittle.com personal portfolio site is) in Route 53. In a previous blog post, I talked about migrating my GitHub Pages site and domain off of Cloudflare and GitHub Pages to AWS and we discussed setting up the TLS certificate in ACM.
I can’t believe it’s that time again and the certificate is due for renewal. Normally this is an automated process that just happens. So funnily enough, I got an email from AWS that my certificate couldn’t’ be renewed for me. Annoying! But what better way to do a bit of a debugging session as to why this is, and how you can fix it.
Step 1
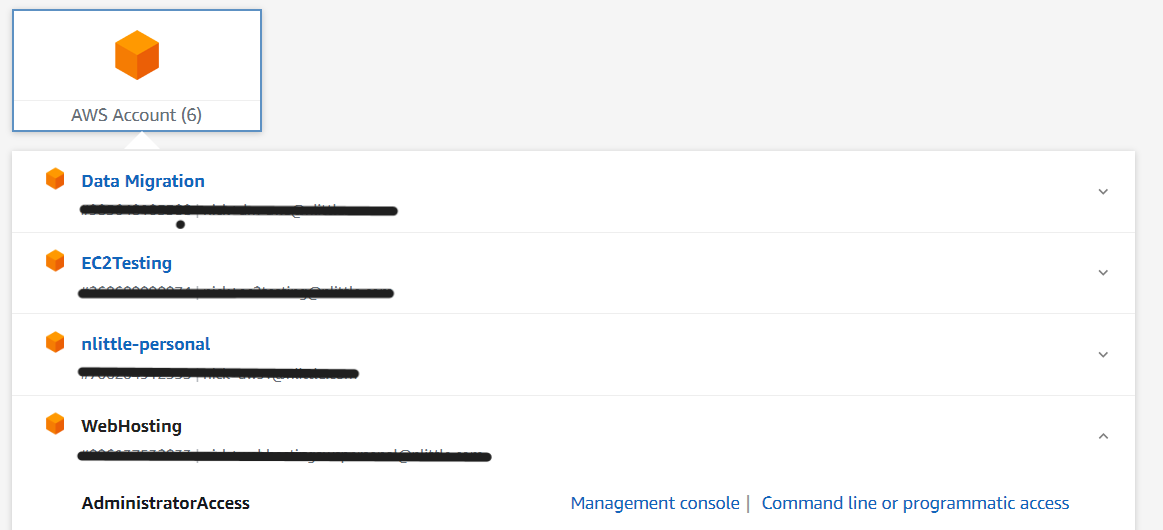
Jumping into my AWS account for my web hosting site using my Google Workspaces SSO is always a breeze:
Into the Management Console of the account:
Step 2
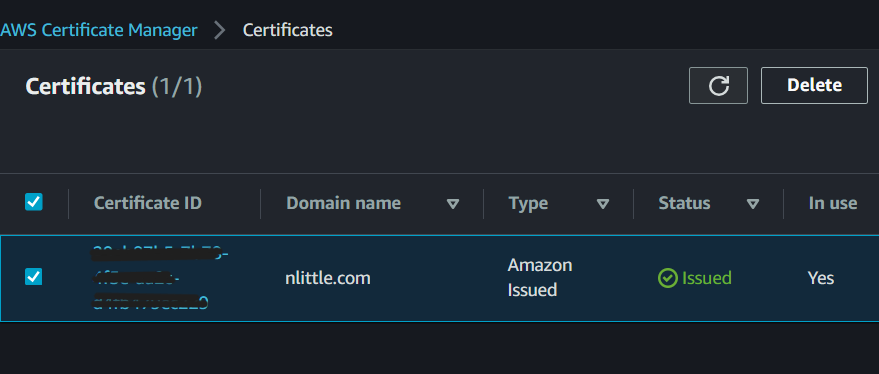
Go to the ACM Service and browse to the certificate in the North Virginia region (as that is where the certificates are all generated via the main AWS Control Plane for CloudFront usage):
Step 3
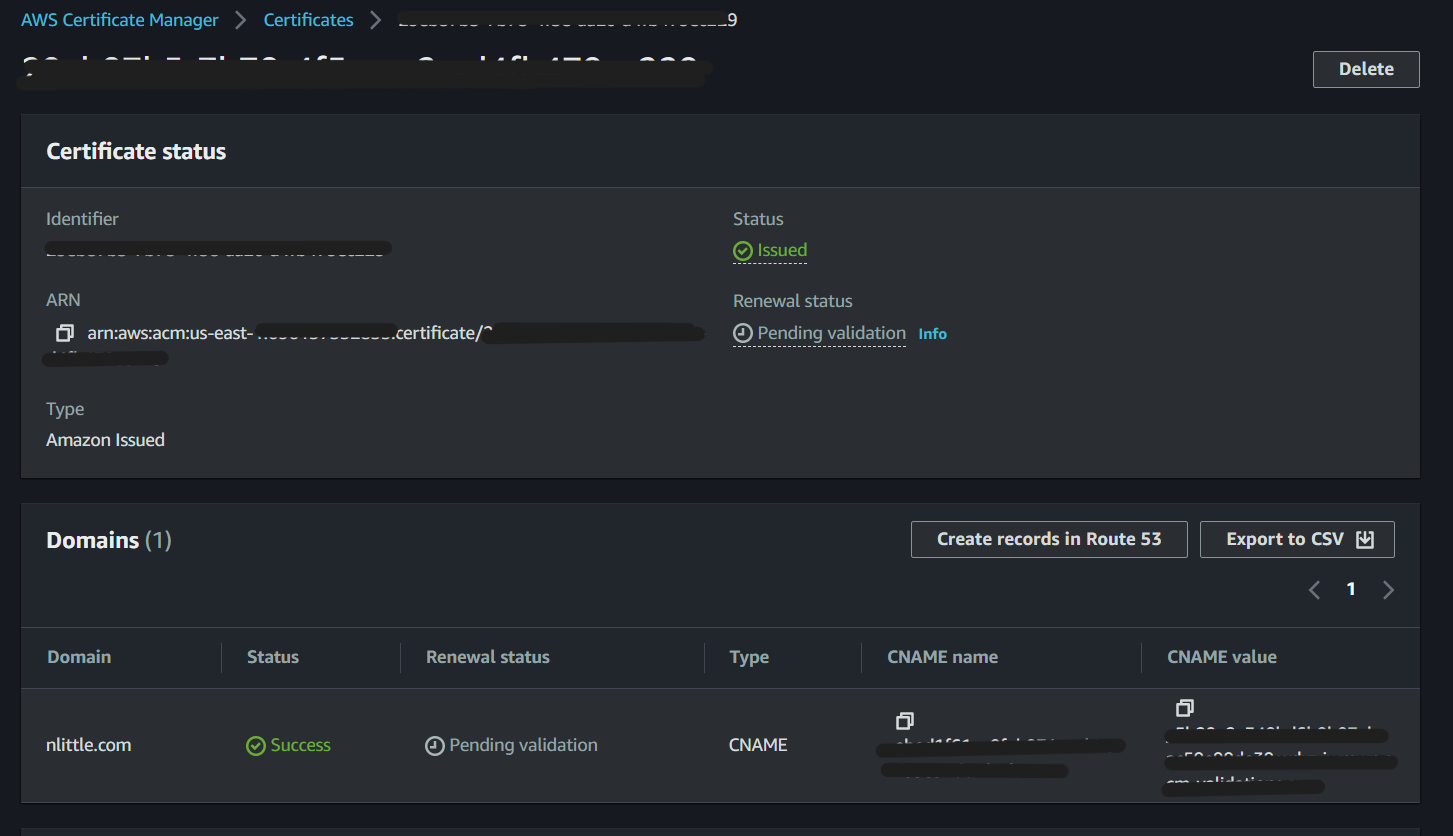
Click on the Certificate ID, and note the certificate is in the status ‘Pending validation` (to be expected) in this case.
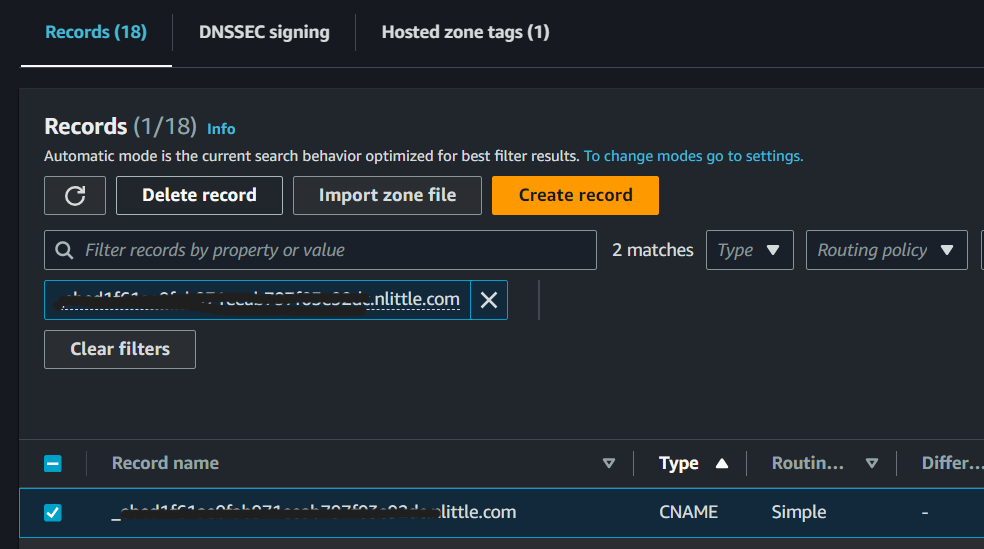
Step 4
Head to the Route 53 service in the console and delete the existing CNAME entry, which matches the one listed in ACM in the above screenshot:
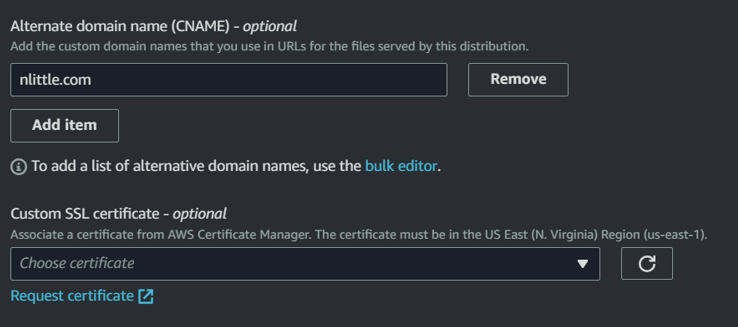
Because the TLS certificate is attached to my CloudFront distribution for my caching and edge routing, you need to disassociate it from the distribution. Go to the CloudFront service in the console, and click on ‘Edit’ in the ‘Settings’ section:

In the ‘Custom SSL Certificates’ section in CloudFront, select ‘none’ to disassociate your certificate and then click save changes (bottom right):
Wait for the change to deploy to your distribution.
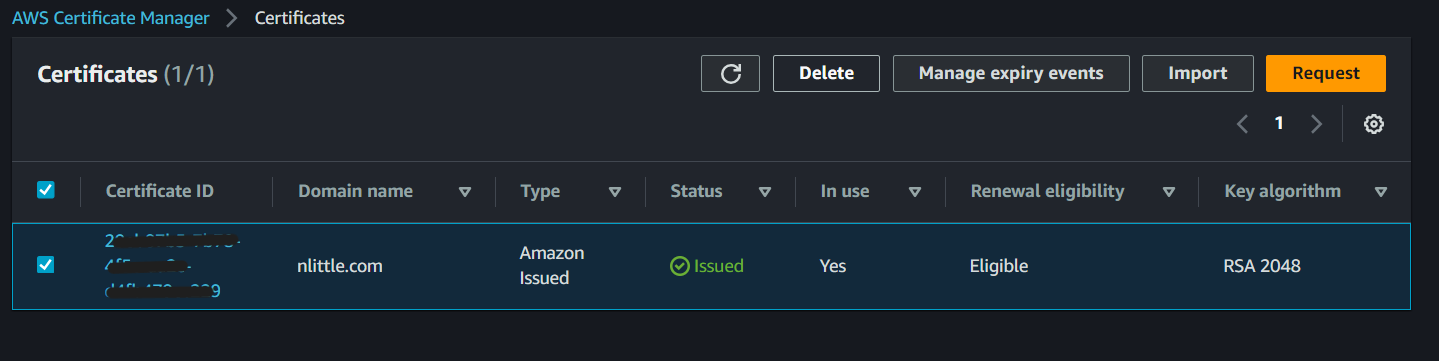
Step 5
Head back to the ACM console, and select the certificate, click delete, and then request:
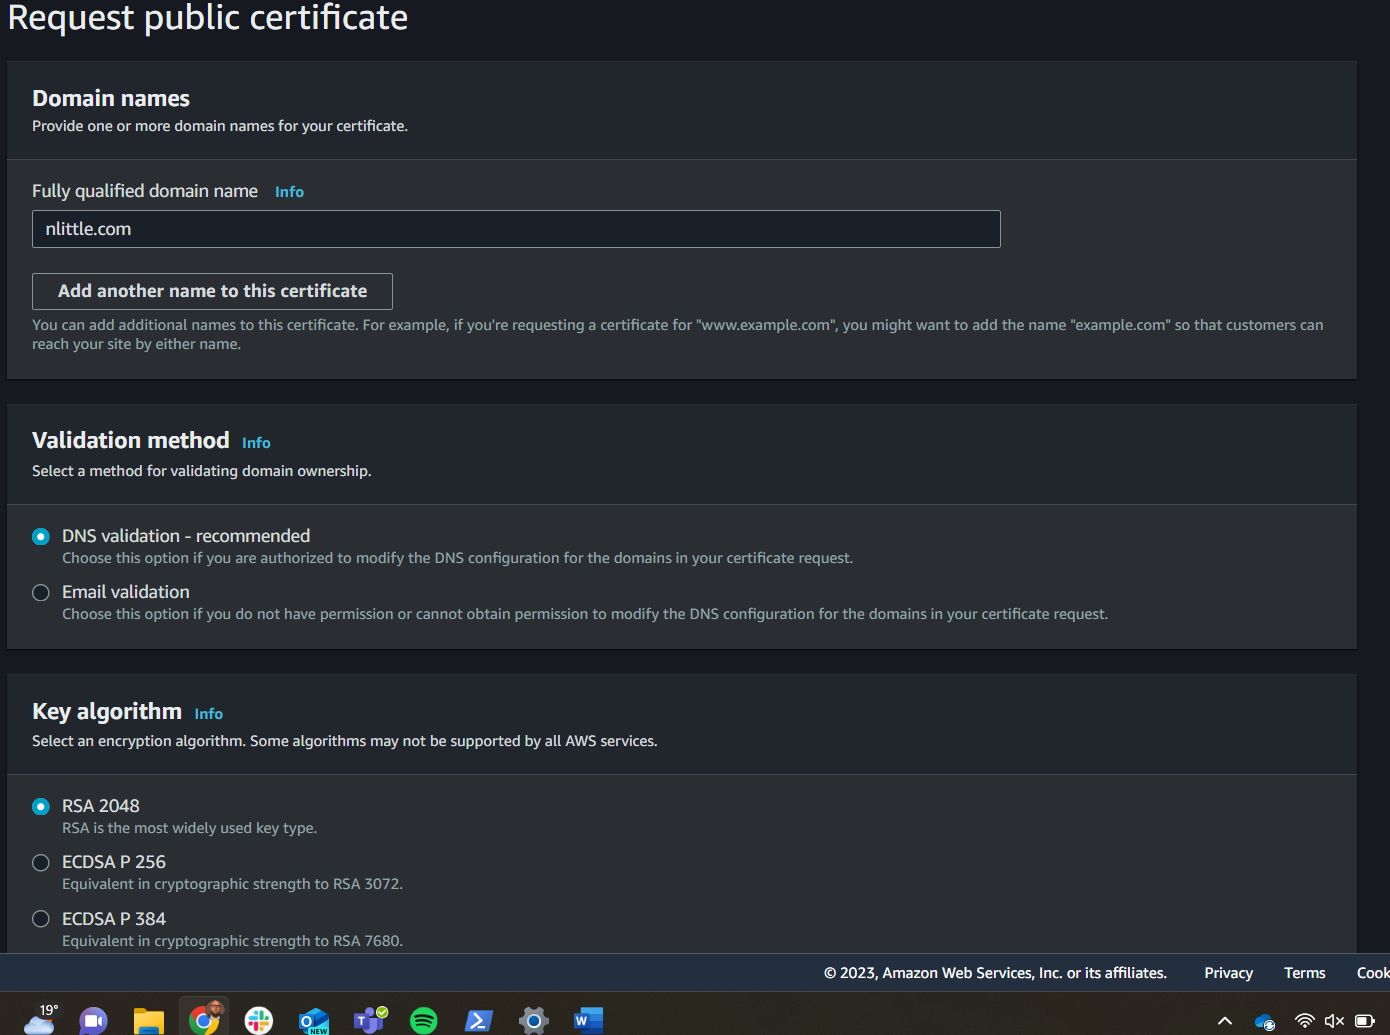
Step 6
In the request screen click, ‘Public Certificate’ and then next. Enter your fully qualified domain name (FQDN) mine is nlittle.com Select ‘DNS Validation’ and click OK:
Step 7
Once the request is complete. The status will be back on ‘pending validation’ as it was in the beginning.
Click on ‘Create Record in Route 53’ to create the required CNAME entries easily. If your domain was with another registrar you can manually create the records there, or you can validate via email too. I like the simple integration with Route 53 as the registrar and DNS host, alongside ACM to manage the TLS certificates.
The default is 300ms on the time to live (TTL) for DNS validation. Give it some time, and refresh. Voila! My certificate is now renewed and is good to go again.
Step 8
Nearly… Don’t forget to add it back to your CloudFront distribution:
Go back to your CloudFront Distribution, ‘Settings’ pane, and ‘Edit’ and you’ll see the certificate ready to attach again. Select this, and click deploy. (Reminder it can take a while to deploy to all the global points of presence, so go grab a beverage of your choice).
Tips, you may want to invalidate your CloudFront distribution to bust the cache and ensure it’s serving up your latest TLS certificate. And we’re done!