Seattle
Wow, I feel like I’ve finally had a chance to catch my breath and get a chance to write this blog!
Last month I was incredibly fortunate to be able to attend the AWS Ambassador Summit hosted at the Amazon HQ in Seattle, USA. I managed to wrangle some time and got to stay the weekend before and after the summit, which was a great chance to be a tourist! Some of the notable highlights of this were:
- Seeing the Pike Place markets:
- The Seattle Wheel

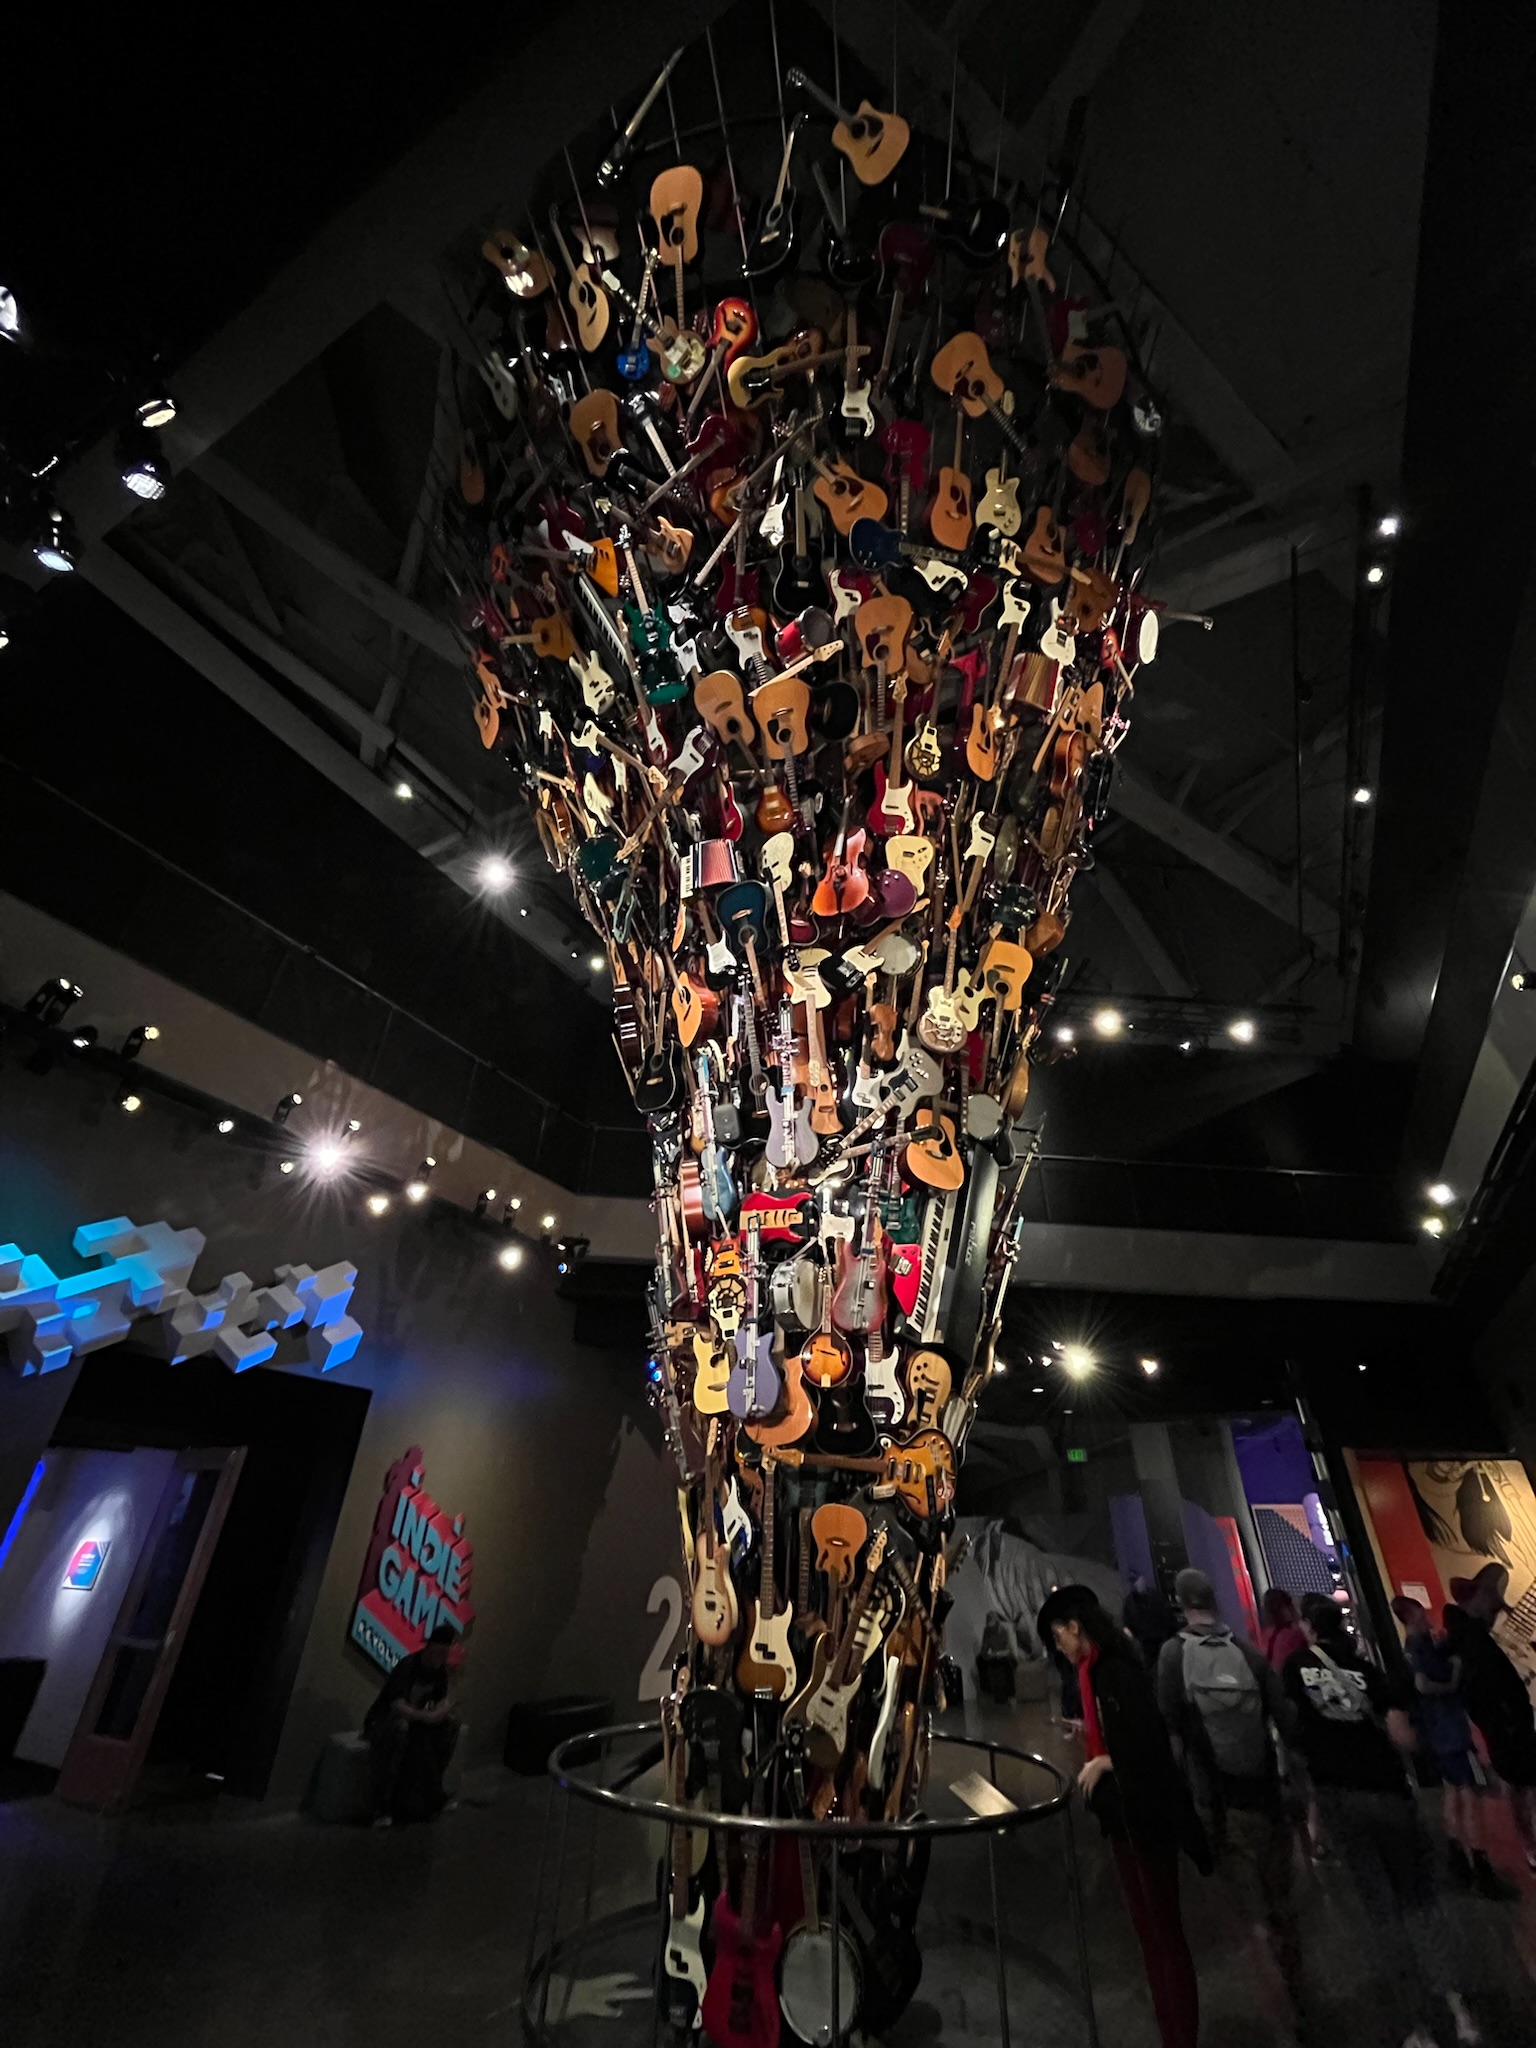
- Museum of Pop Culture (being a punk/grunge music fan, and seeing the Nirvana exhibit and Seattle Heritage was epic!):
- Going up the Space Needle (as someone who is scared of heights, being up high in a building with a rotating centre was fun)
- Glass Museum
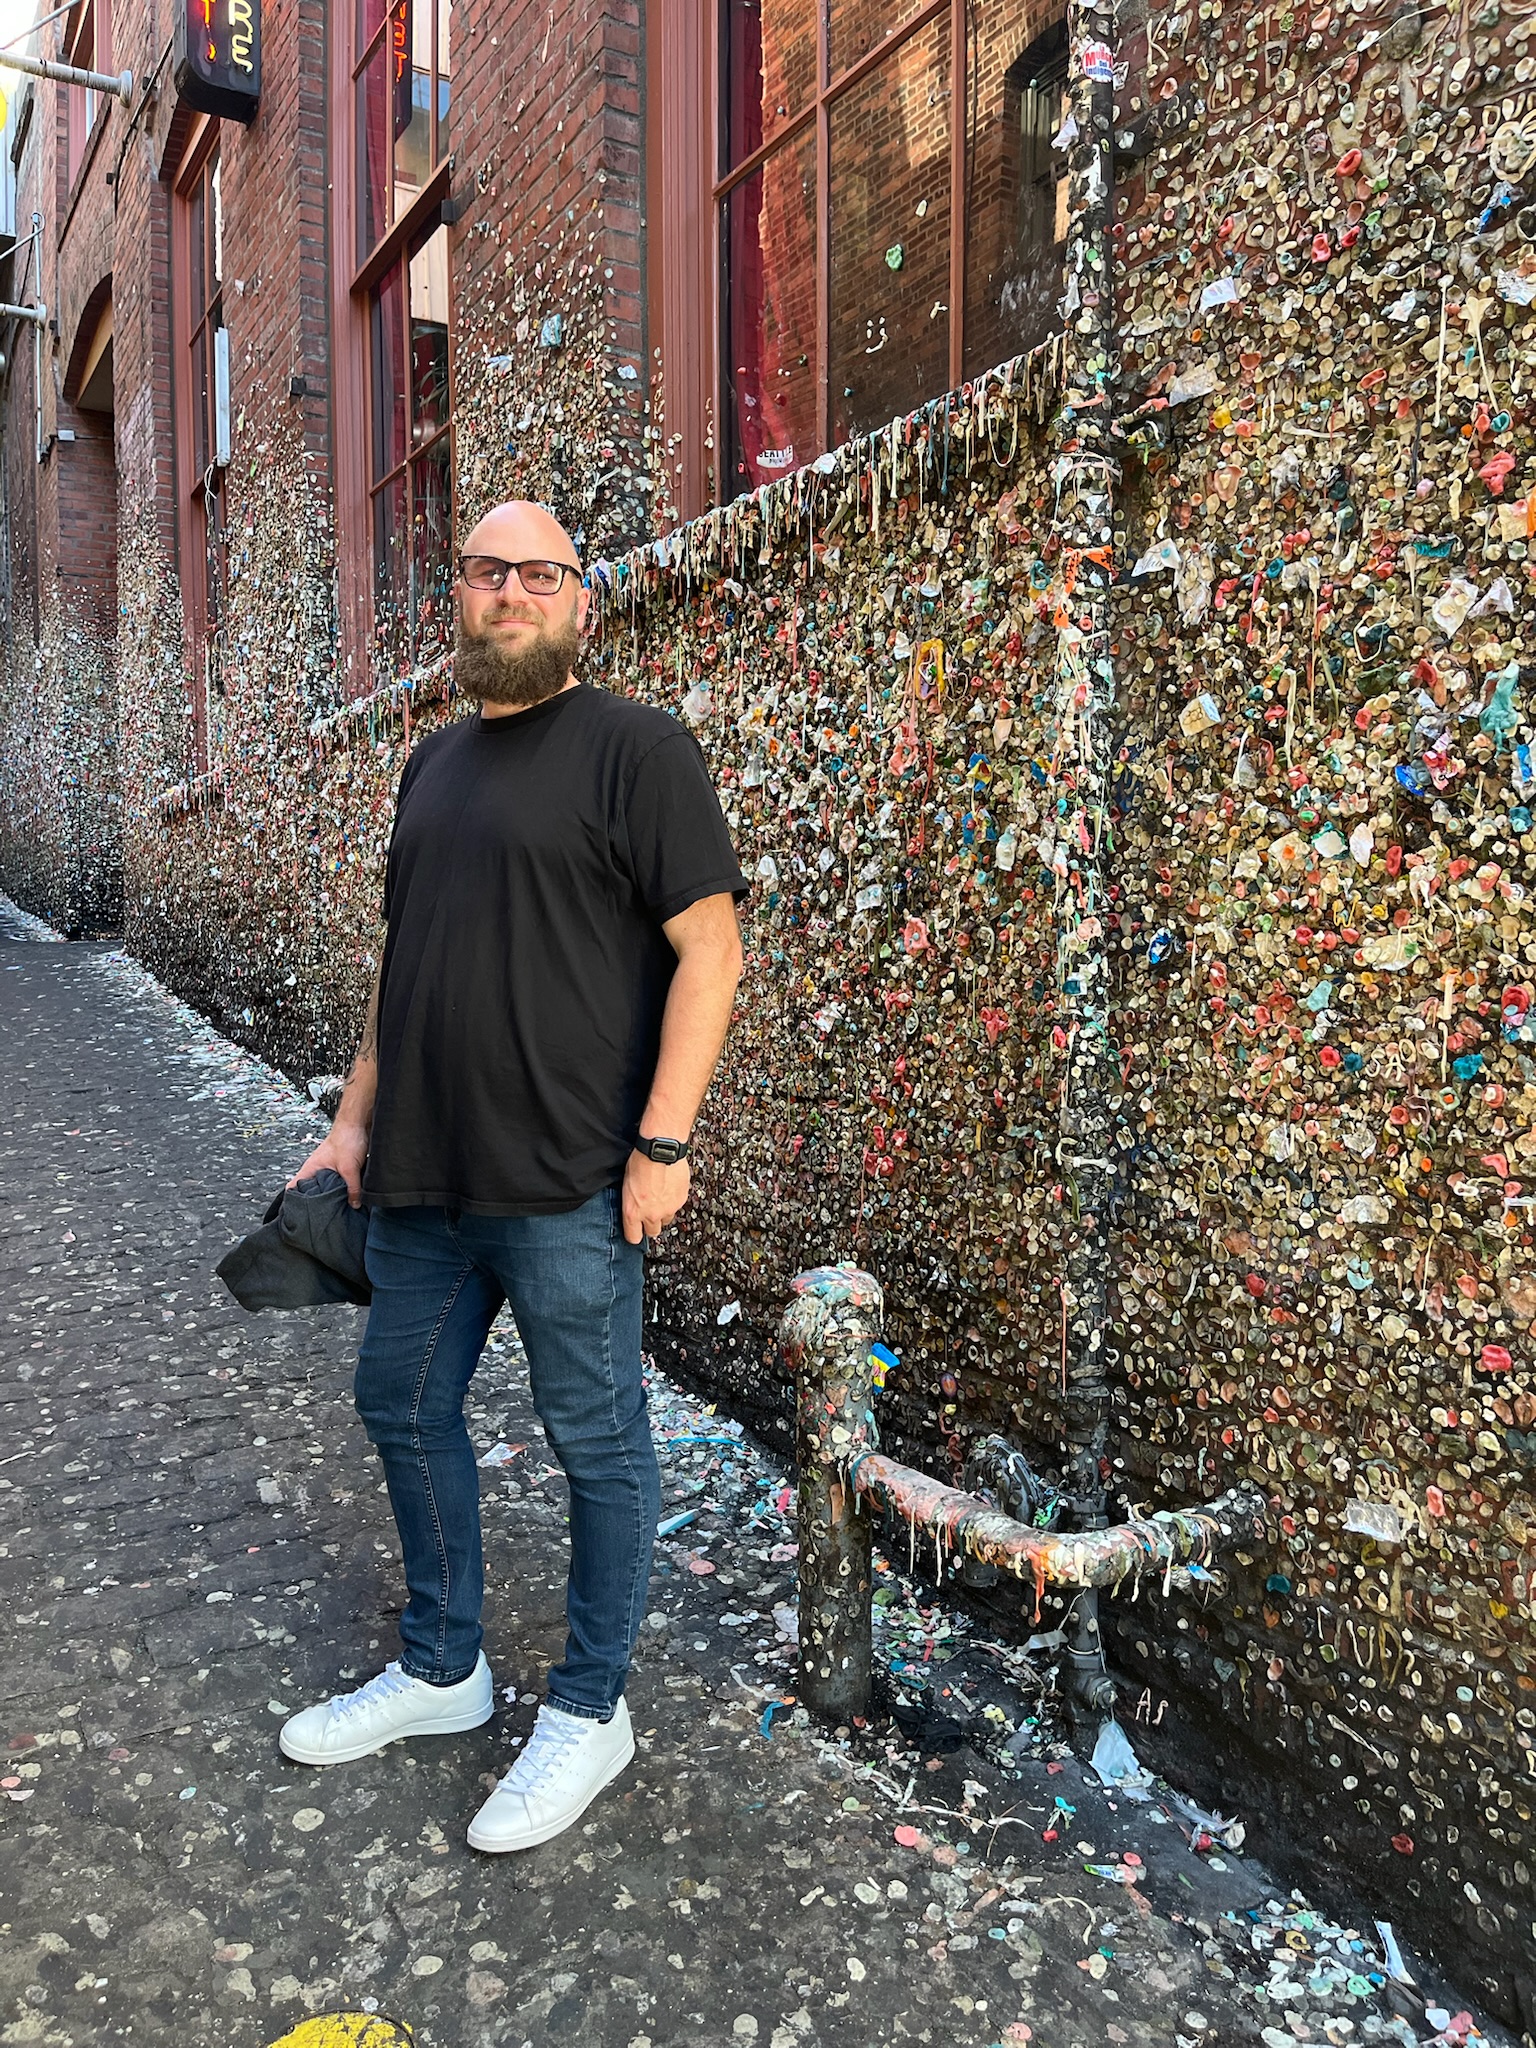
- Gum wall (smelt great, but was a bit gross):
- Harbour Boat Cruise (with our authentic local Australian tour guide)
- Green Day and Smashing Pumpkins concert at T-Mobile Arena (unforgettable)
Day 1
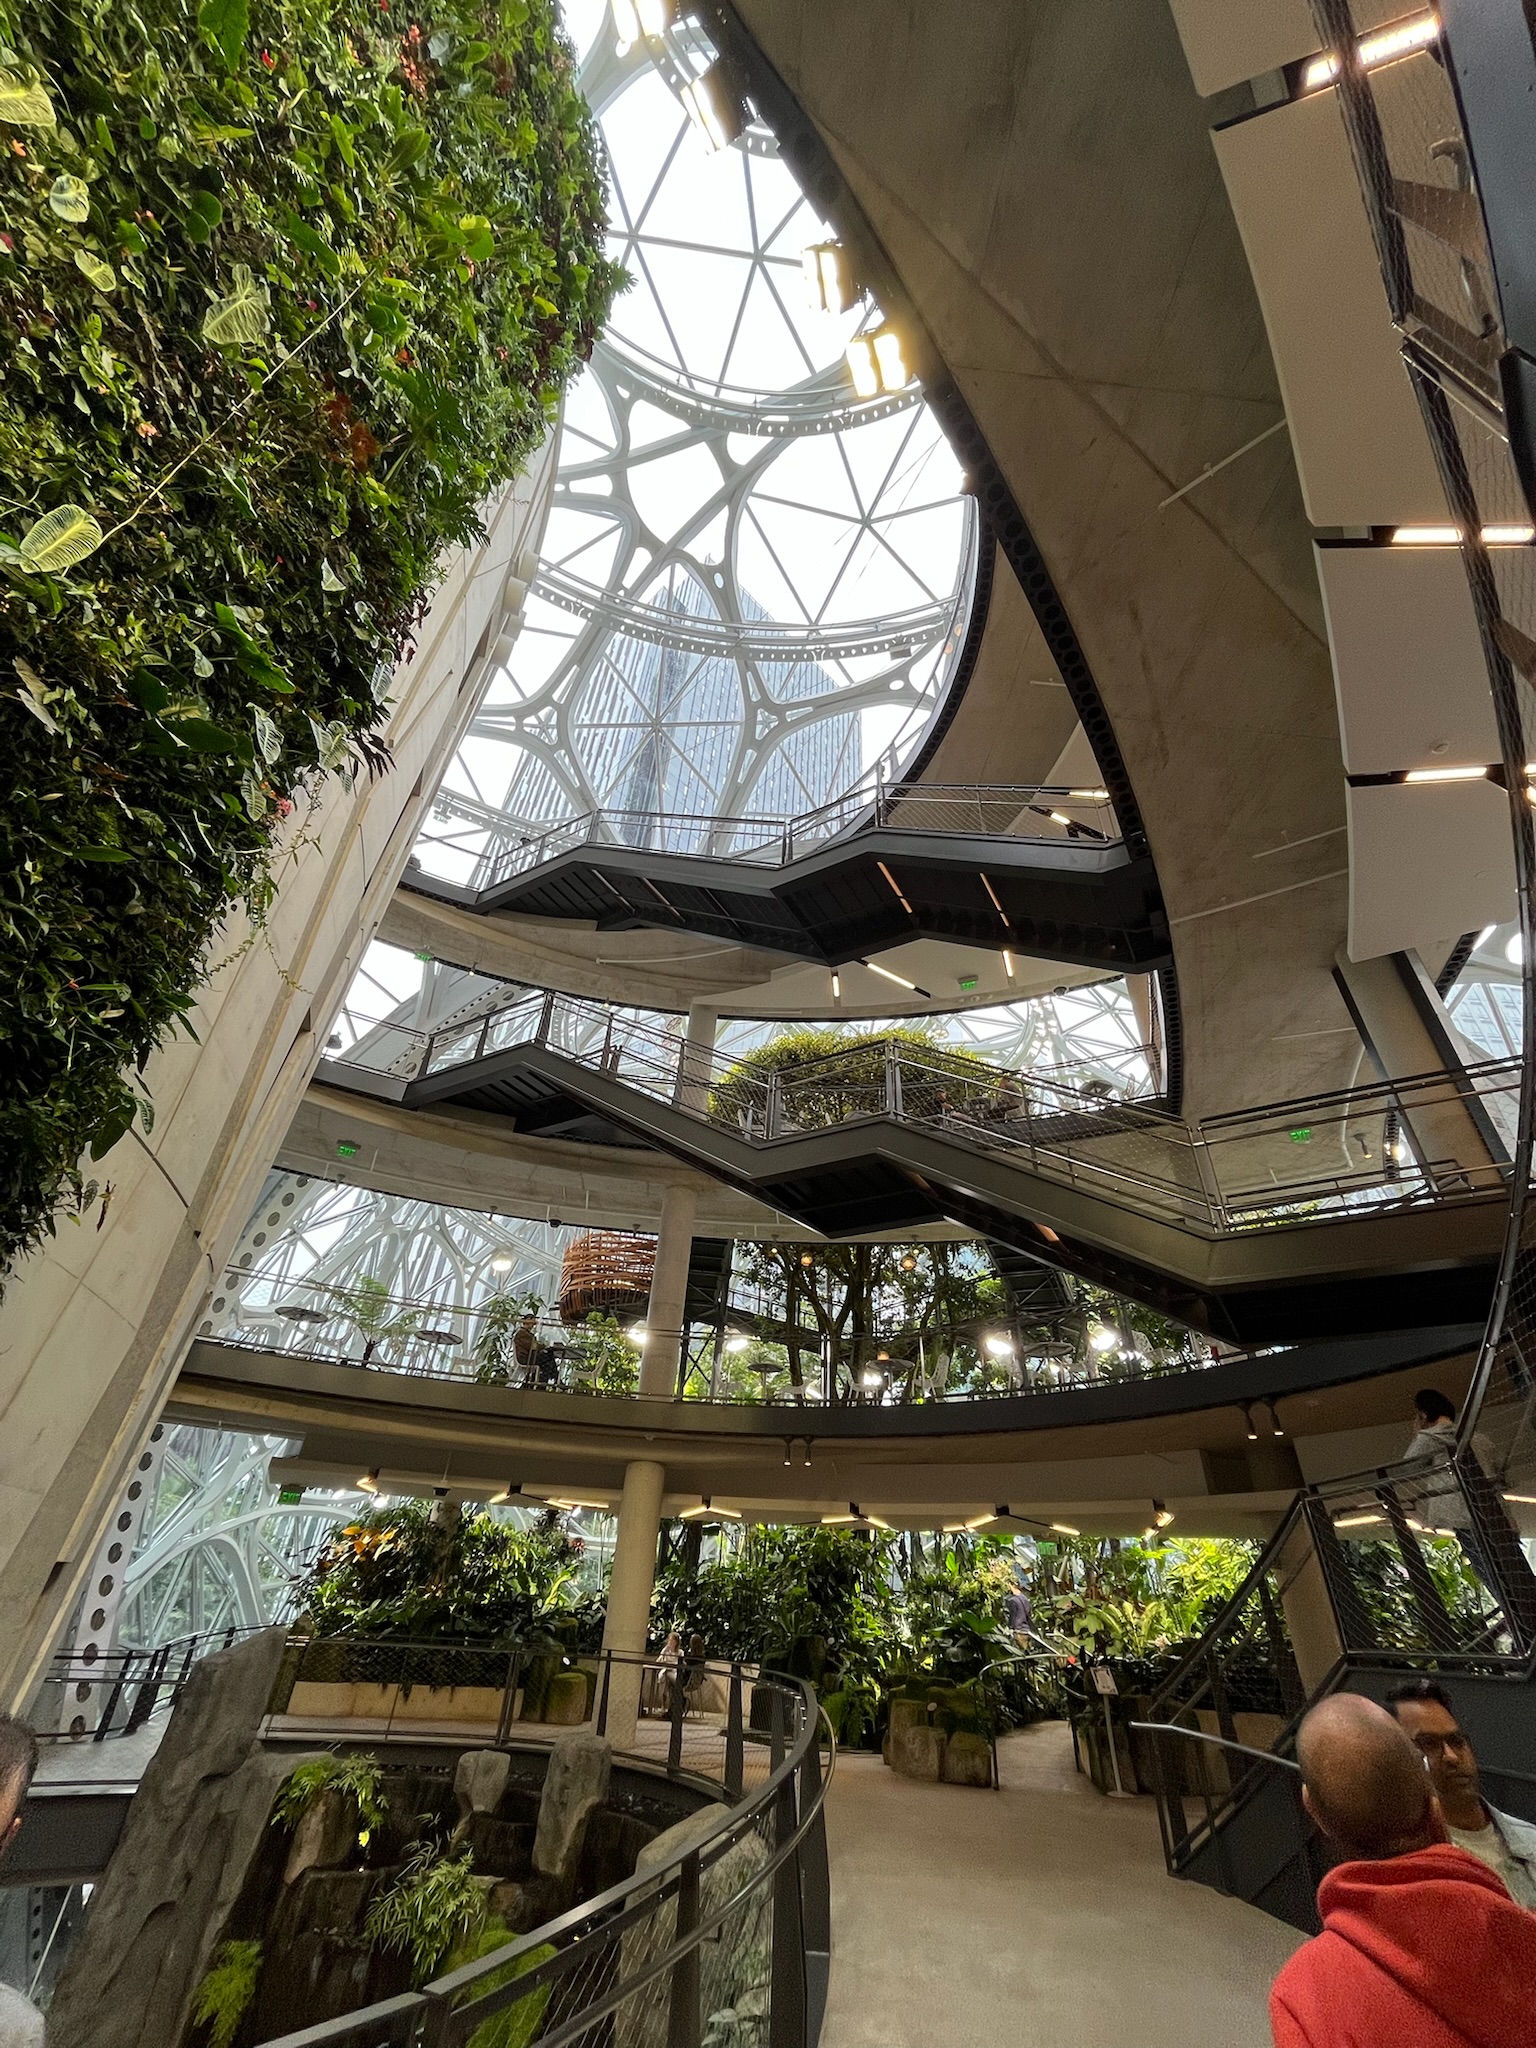
Having had a chance for a bit of sightseeing already, I was excited for the Day 1 arrival day festivities for the Ambassador Summit. This started off with a tour of the Amazon Spheres Buildings in downtown Seattle.
The Spheres are amazing, and they are three stories tall, temperature and humidity controlled, and only accessible to Amazon Employees (or registered guests in our case). There are so many exotic plants, and waterfalls indoors. A highlight was the birds’ nest, which is a basket-like (wicker-type) structure that overlooks the building and is precariously perched off the end of a walkway. What a spot for a meeting if you ever had the chance!

We then got the chance where a few of us in the group continued to be tourists and went to visit the following places (on a lovely sunny warm Seattle day):
- Harbour boat cruise (with our genuine Australian tour guide):


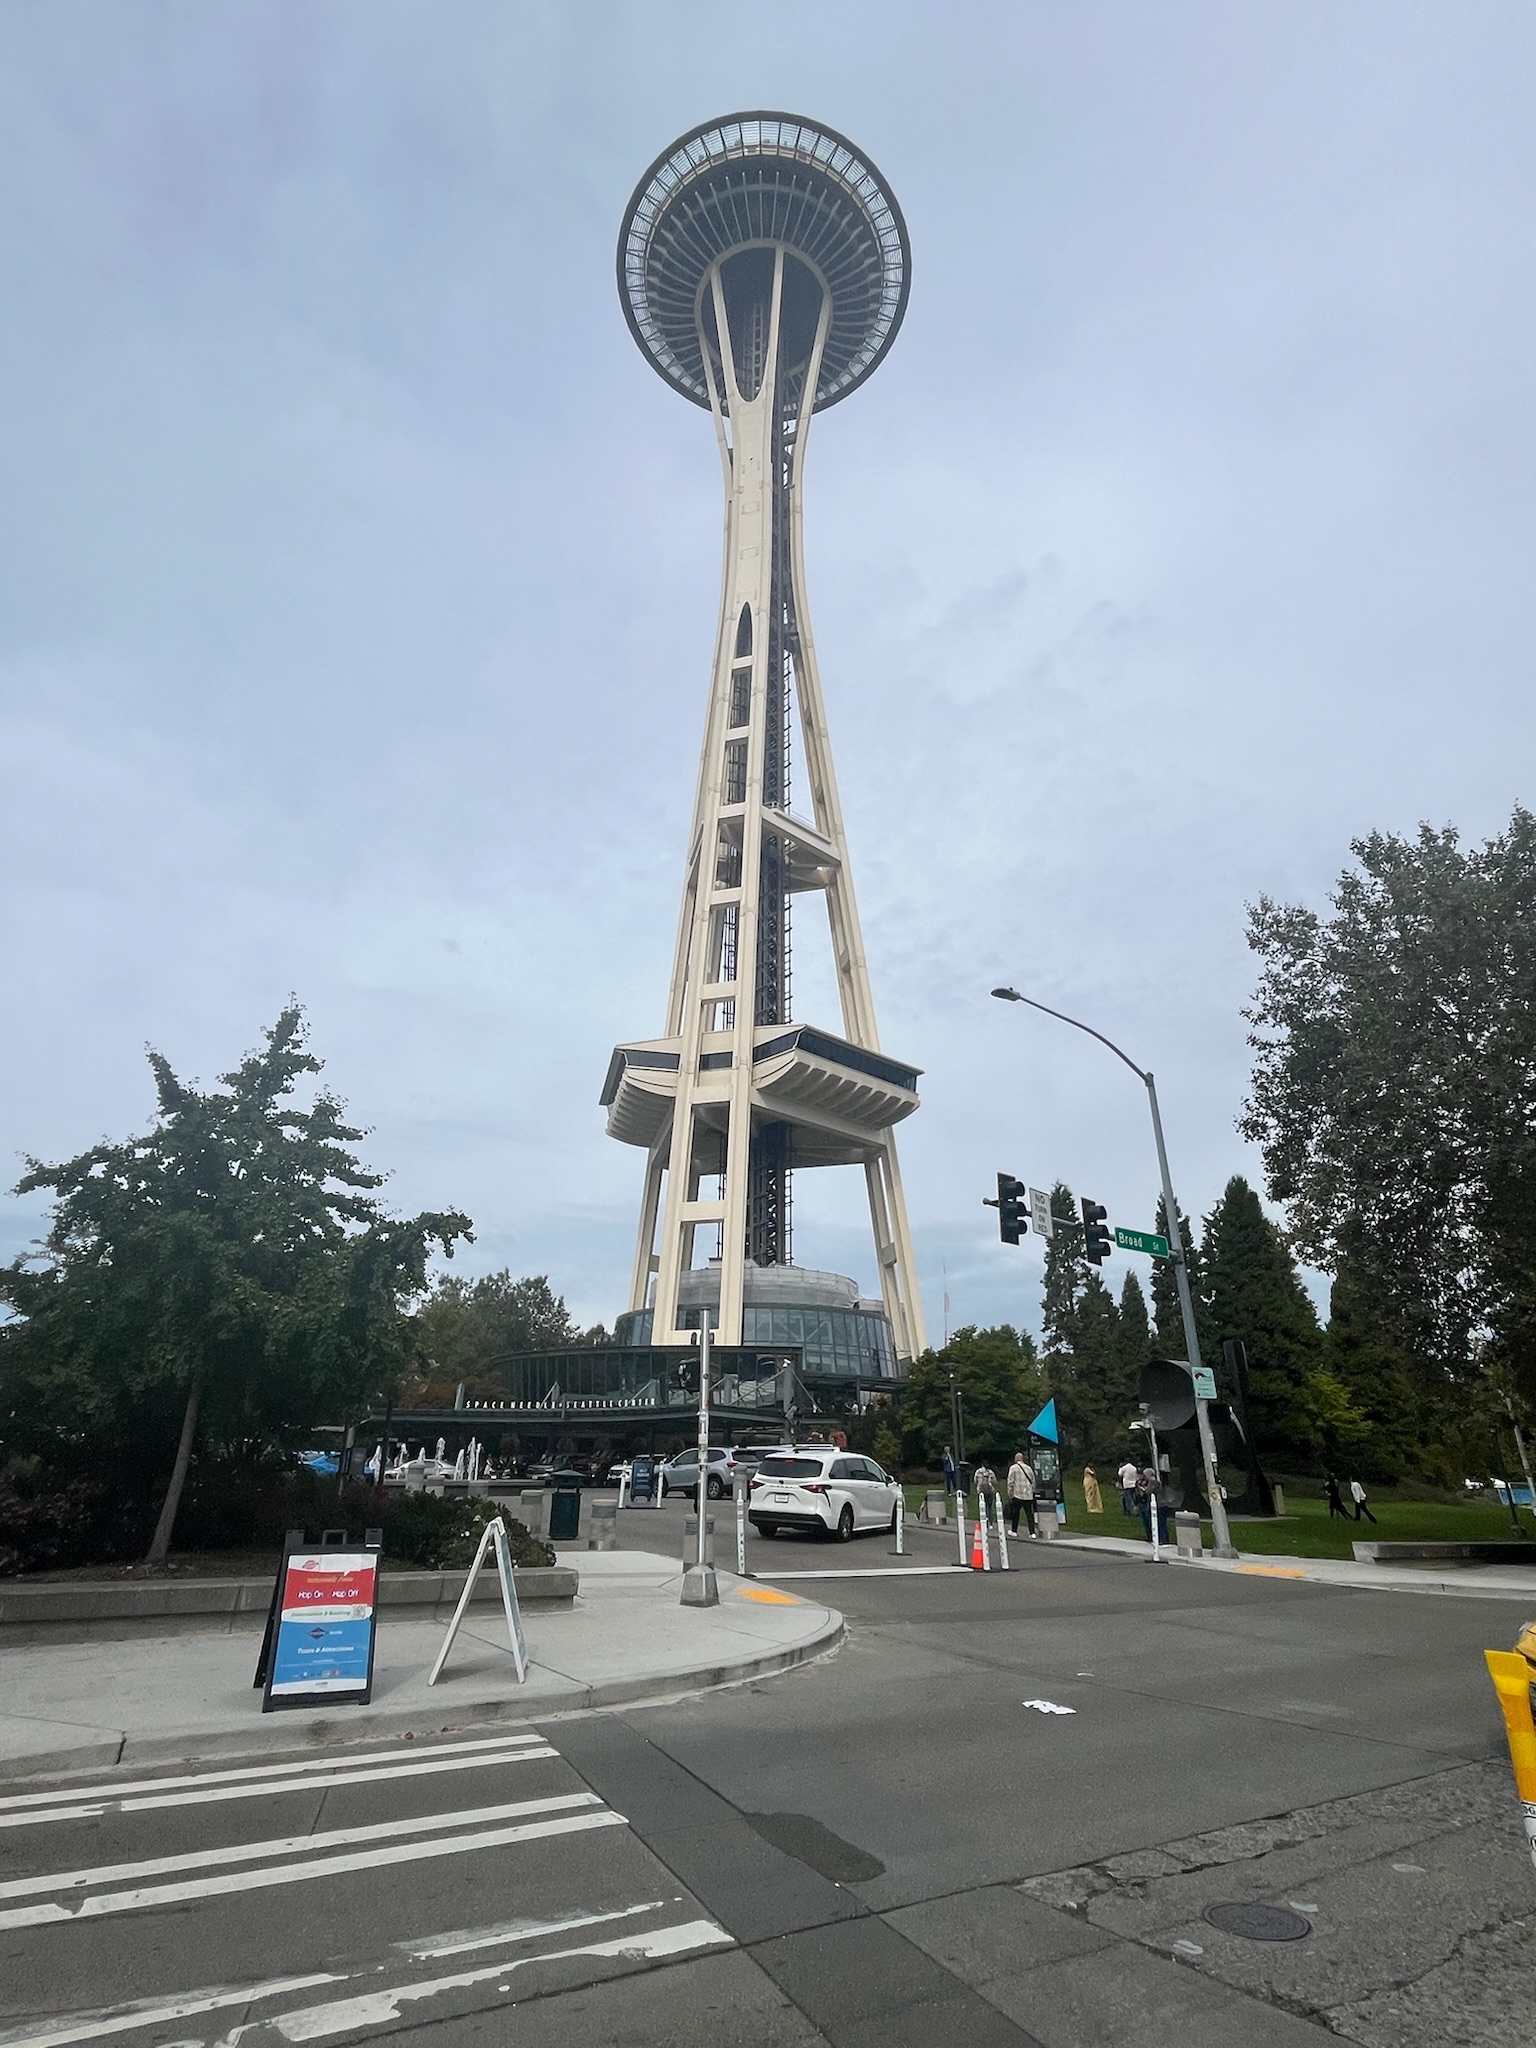
- Went up the Space Needle!:
- Smashing Pumpkins and Green Day concert!:

Day 2
The first full day schedule and beginning of the Summit. We got to see a raft of existing speakers and presentations from the following:
- Welcome & Leadership Panel
- Amazon Q
- Lightning Talks - AWS Ambassador Lightning Talks
- Quantum Computing, Amazon Braket
- Ambassador Lightning Talk
- Using Social Media Effectively Learn how to use social media to most effectively
- Guard Duty
Following up on the day was the Dinner & Awards Ceremony at the Dinner Deck at the Amazon Frontier Building (with amazing city and water views!)
A highlight was seeing the Ambassador All-Star awards and getting to see my colleague Geoff get re-presented with the coveted Golden Jacket (which is even shinier than his last one!)
Day 3
The second full day schedule and beginning of the Summit. We got to see a raft of existing speakers and presentations from the following:
- APN roundtable
- AWS Marketplace
- Lightning Talk (I got to present my talk on Continuous Compliance in AWS which was a real honour and so much fun!):
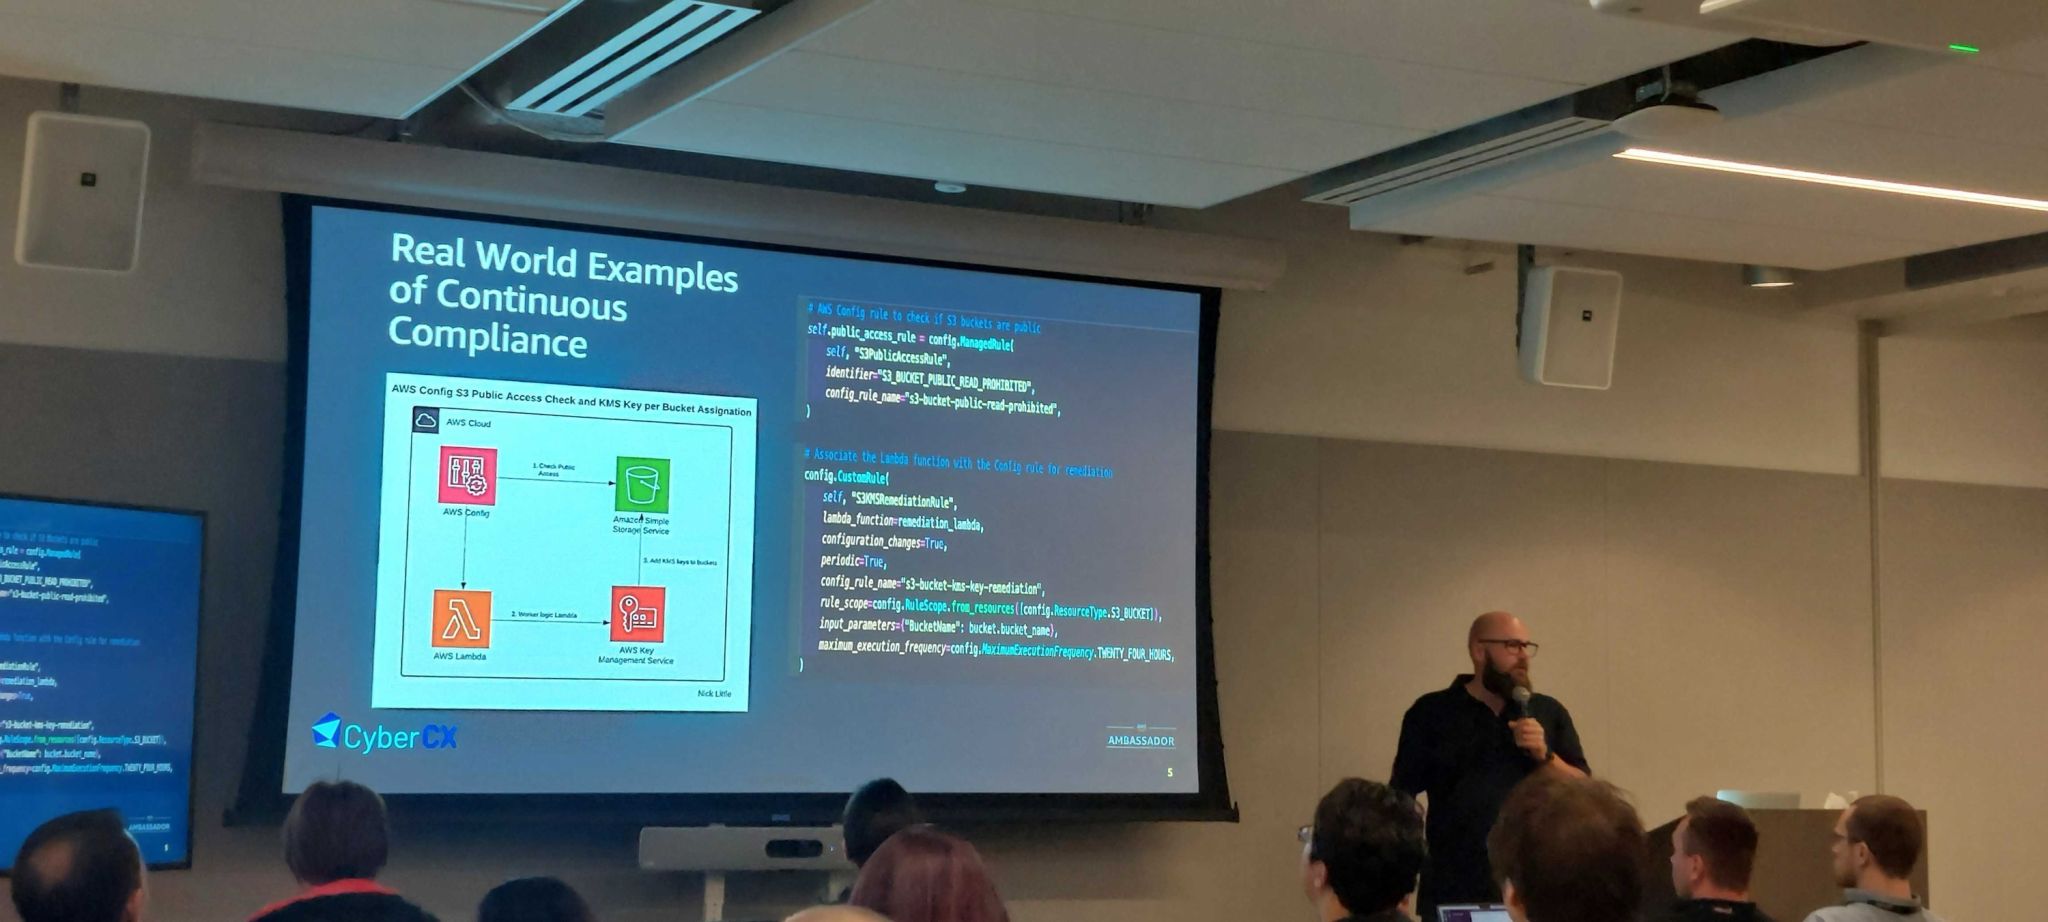
- Delivering an Awesome Keynote (ironically right AFTER my lightning talk!)
- Lightning Talks
- Women in Tech
- The History of GameDay
The evening’s optional activity of choice was the Guided Tour of The Seattle underground. This was so much fun. It was really interesting to hear of the city’s beginnings and the rebuild that now means the original city is all underground/at sea level, and the city you walk around is actually much higher!

Day 4
The third full day schedule and beginning of the Summit. We got to see a raft of existing speakers and presentations from the following:
- AWS Partner Solutions
- Cloud Native Deployment
- Lightning Talks
- Inclusion, Diversity, and Equity
- Culture of Innovation
- CI/CD
- The Innovator’s Mindset
- Global Summit Survey and SWAG!
The final night of activities was the great Annual Ambassador Bowl off! Lots of arcade games, good food, and bowling! What a fun time.
Overall I had an amazing experience at the Ambassador Summit. It was a real privilege to attend, so thank you to CyberCX for giving me this opportunity to represent CyberCX on a global stage, and to be selected to present my Lightning Talk on Continuous Compliance was a real highlight!
Thank you to the amazing AWS Ambassador Team for putting this amazing event together!
There is just so much I can write on this, but I had better stop now :)
My Cyber CX Colleagues, and fellow Ambassadors Nitin Yadav, Geoff Loh, and Freddy Ho (CyberCX has more ambassadors Stefan Evans, and Denys Tyshetskyy who are attending AWS re:Invent instead this year):
